Troubleshoot Railway
Nothing here
Warning
The free plan has been removed Jul 3rd for new users and Aug 1st for existing users.
It has been running fine for the first 200/500 hours and now it’s gone. Even the project disappeared in Railway.
This is usually because you need a Developer plan to run your Nightscout app in Railway.
Restart your app
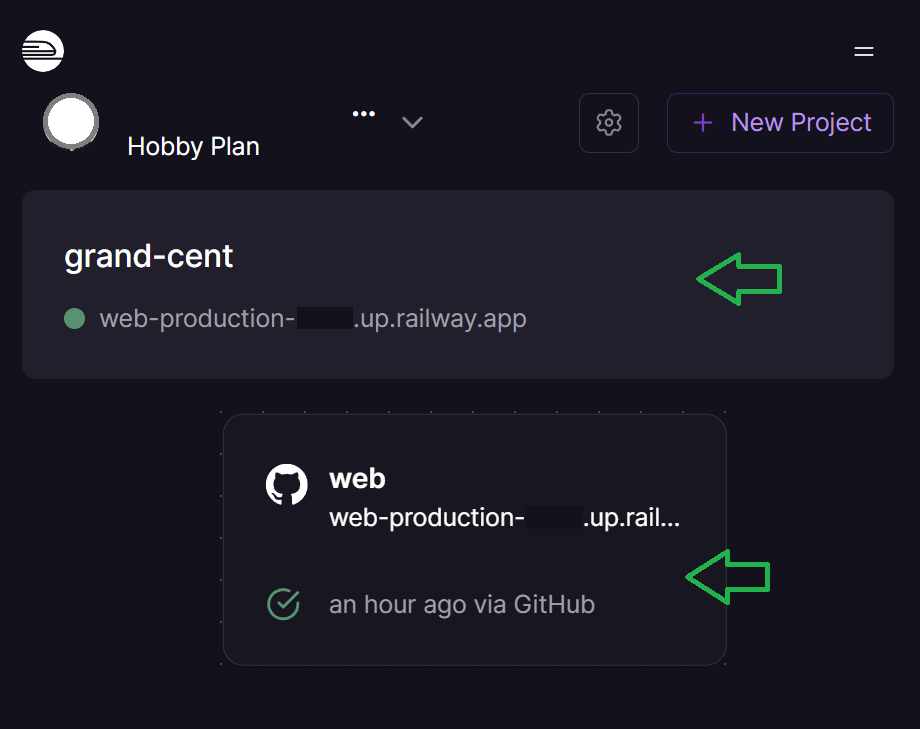
a) Open the Railway Dashboard and select your project then your app.
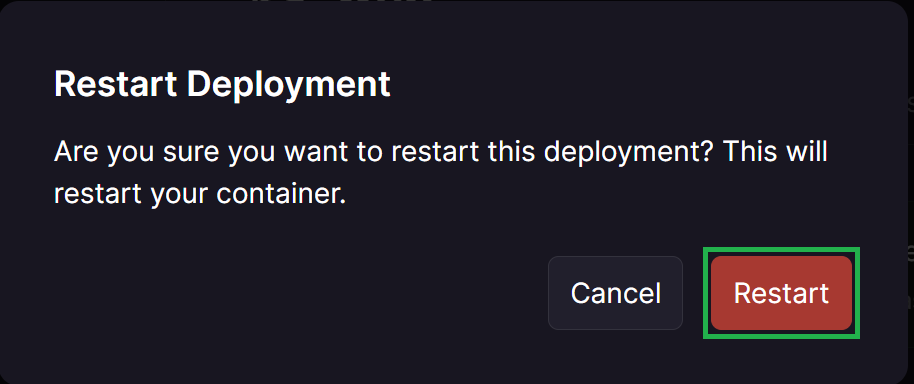
b) In your web deployments select the current one (top of the list) and in the three dots menu on the right, Restart.
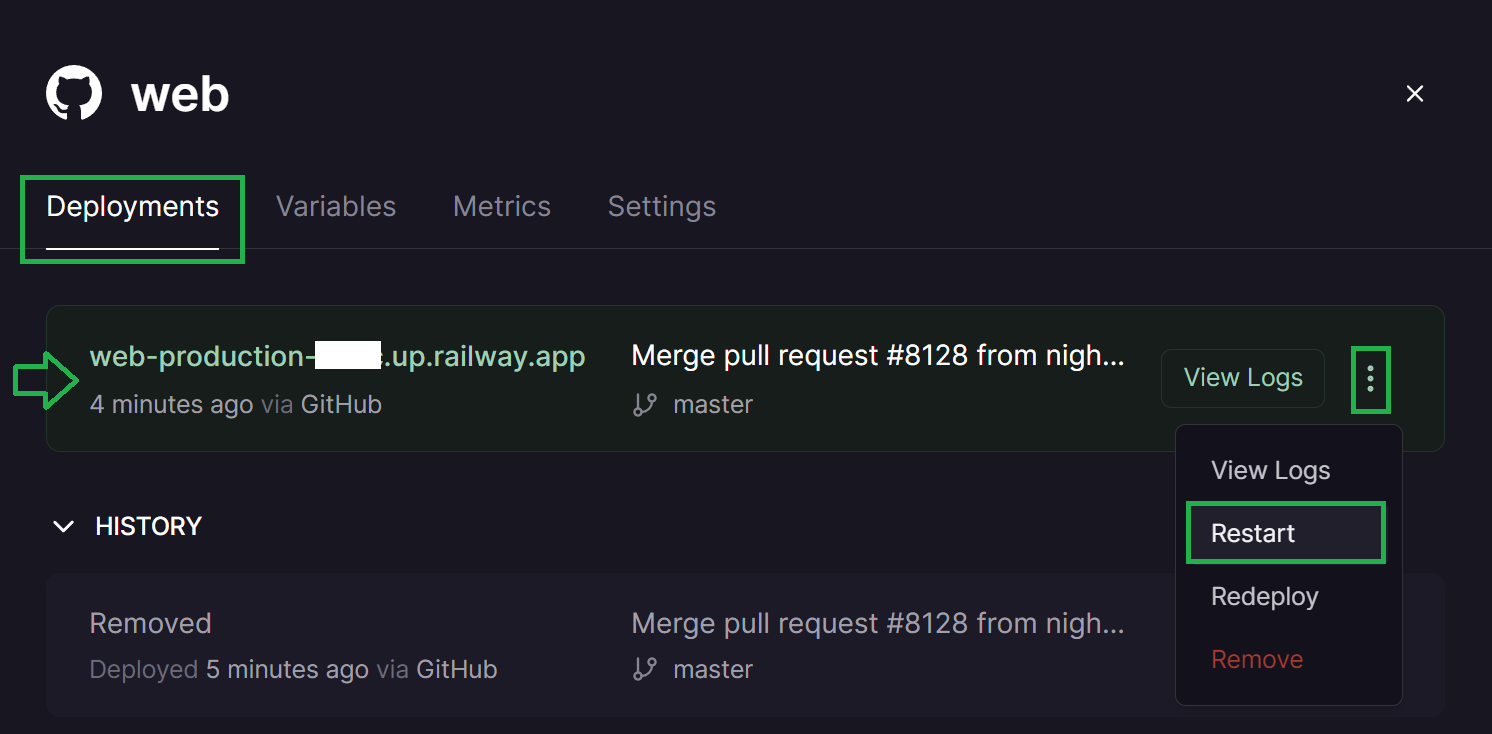
b) Confirm Restart. Wait a moment and check your Nightscout site state clicking the URL.
If your site crashes again shortly after, verify your database is not full if you use MongoDB Atlas.
Reconnect GitHub to your project
a) Open Railway and click login. Login with GitHub.

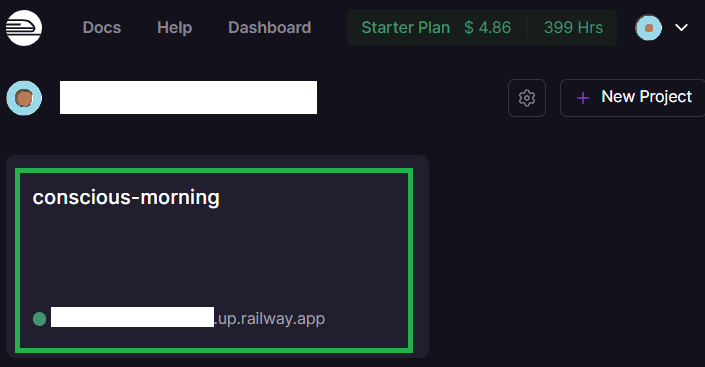
b) Select your Nightscout project.
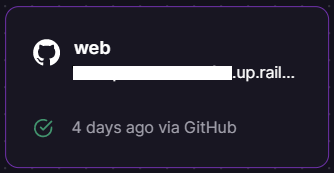
c) Select your web app.
d) Select Settings and scroll down to Service.
Disconnect your Source Repo with the cross at the end of the line.
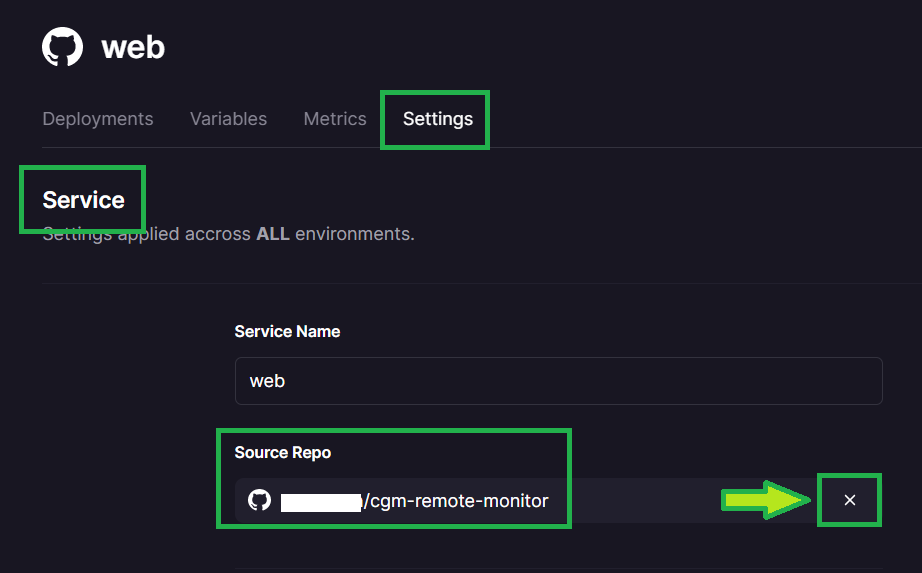
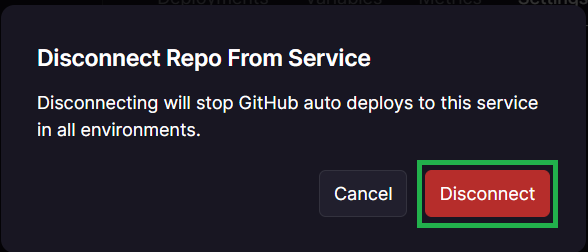
e) Confirm Disconnect.
f) Select Connect Repo.
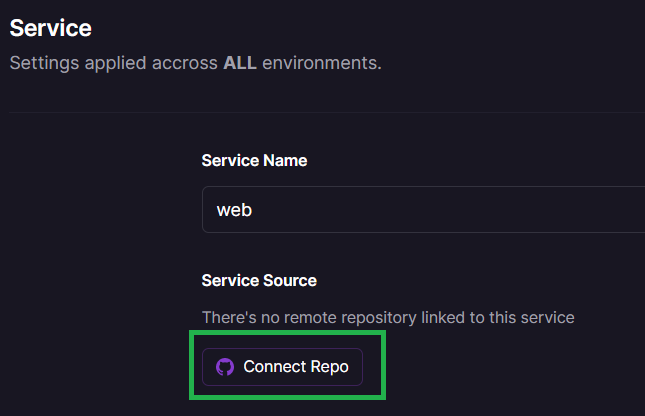
You should be able to select your GitHub cgm-remote-monitor repository.
You have now successfully reconnected your GitHub project to Railway.
If your GitHub repository cgm-remote-monitor was changed (updated for example), your Railway app will automatically redeploy.

If you don’t see the picture above: continue below.
g) If you redeployed (deleted and recreated) cgm-remote-monitor in GitHub select Configure GitHub app.

h) Select your GitHub account.
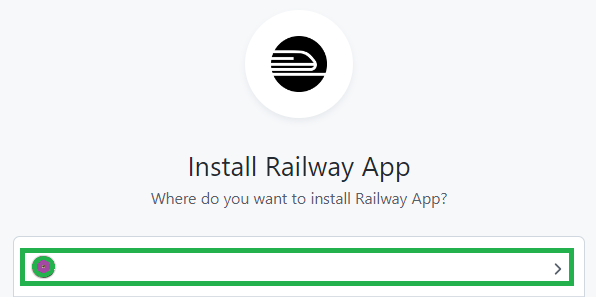
i) Click Only Select repositories and from the Select Repositories button choose your cgm-remote-monitor Nightscout project. Click then Install & Authorize.
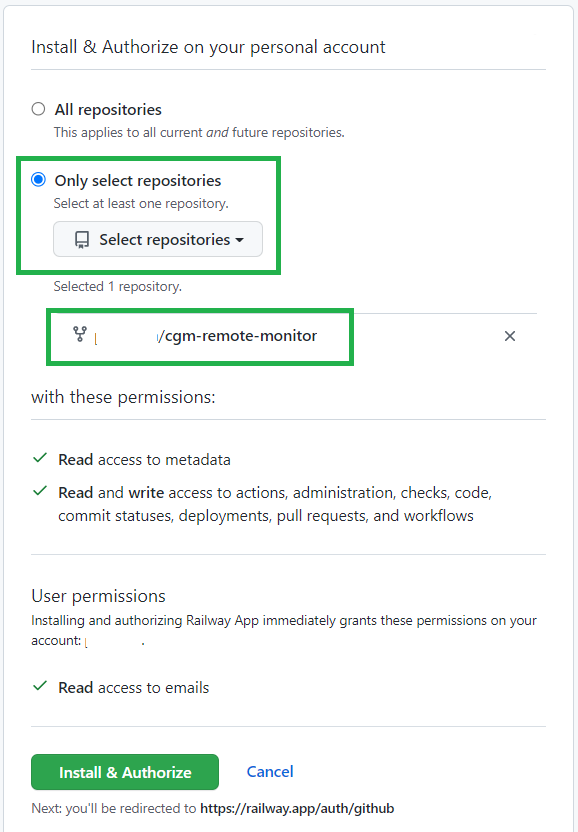
You have now successfully reconnected your GitHub project to Railway.
If your GitHub repository cgm-remote-monitor was changed (updated for example), your Railway app will automatically redeploy.
Cleanup
After several deployment attempts your Railway account might show more than one app. Since there is a 5$ limit to hobby plan before increased billing, depending on how you use it, it is important to make sure you don’t have useless apps wasting CPU time and memory.
Open Railway and click login. Login with GitHub.

If you see more than one (or two if you have a local database) projects on your dashboard, you should delete those unused.
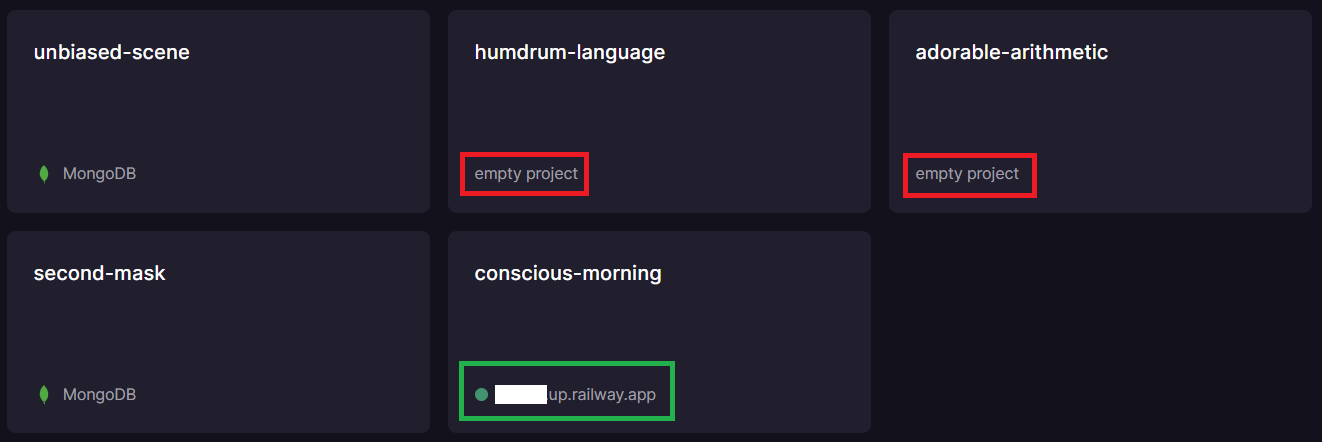
Empty projects
You can safely delete empty projects (in red in the picture above).
Select your project then click on Settings.

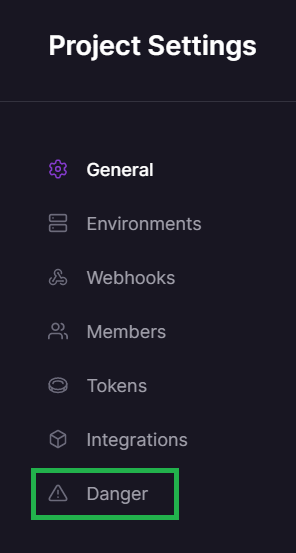
Click on Danger.
Then Delete project.
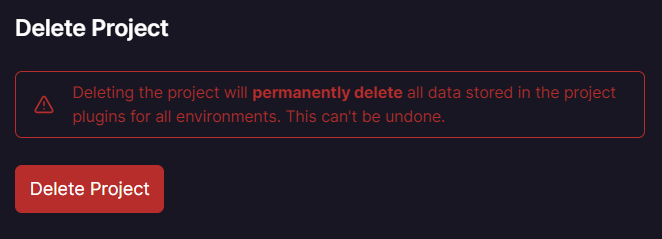
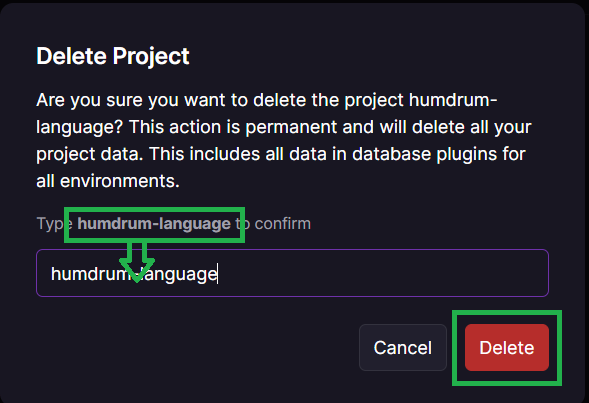
Copy and paste the project name in the box below and click Delete.
Databases
Before deleting a database you need to check it’s empty.
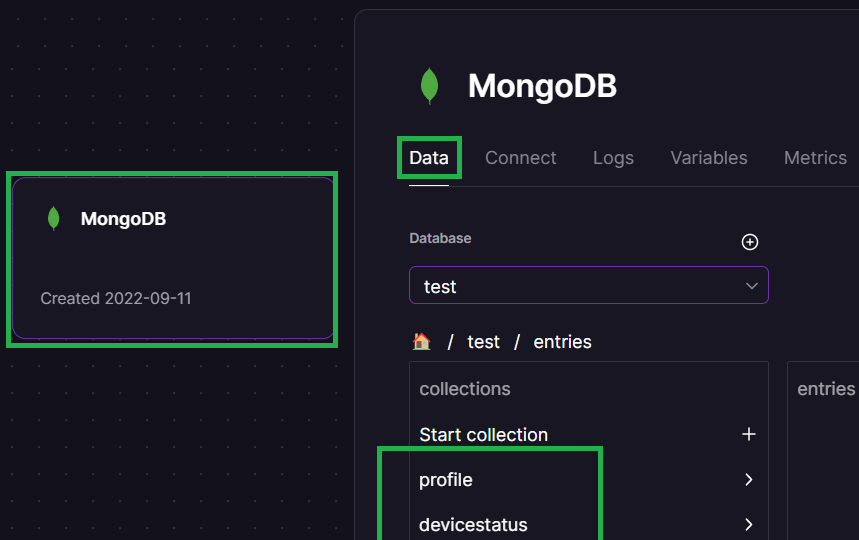
Click twice on the database project and select Data.
This example below is not an empty database. You need to check it’s not being used by Nightscout before deleting it.
You can see data inside: profile, devicestatus, etc…
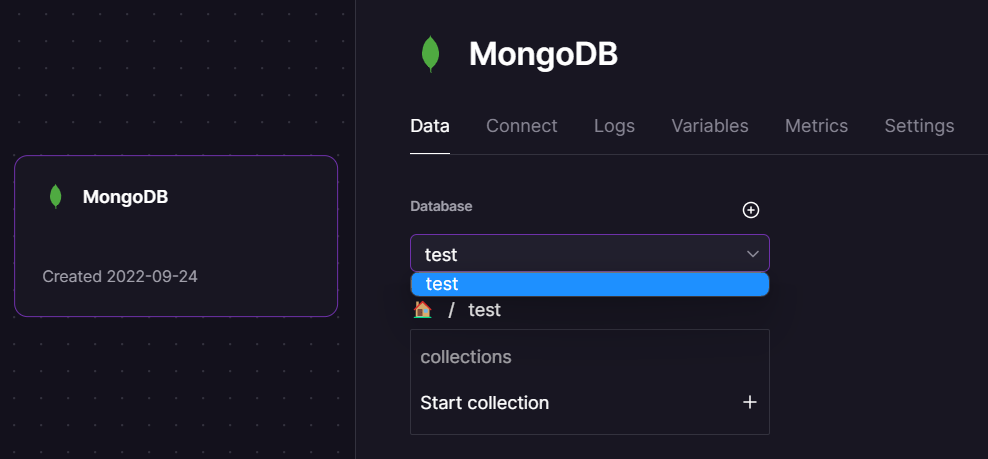
This example below is empty, you can safely delete it (like shown above for an empty project).
There is no data inside this database. When you pull down the Database tab, there is only test and it’s empty.
Backup your site variables
Having a copy of your variables is very important since some of them are vital to your site like MONGODB_URI and your access to it like API_SECRET.
a) Open your Railway dashboard and select your Nightscout project.

c) Select your web app and click on Variables.
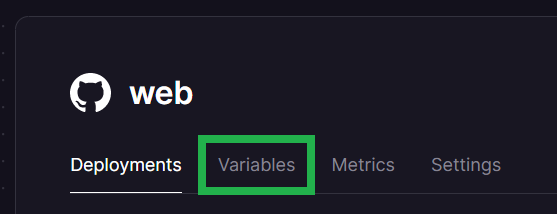
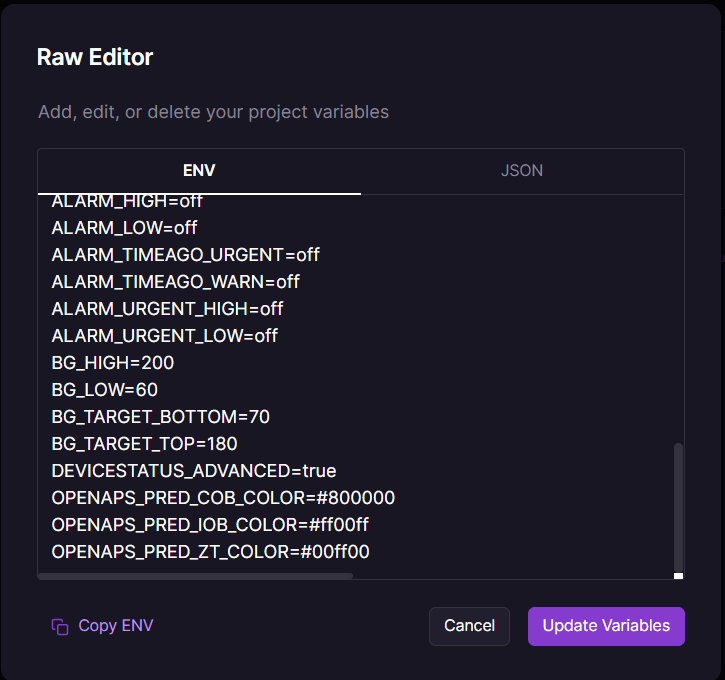
e) Click on RAW Editor top right

f) Click on Copy env bottom left and paste all into a text editor.
Warning
Save this file in a safe place.Call it railway.env as it’s your Railway environment variables.
Restore your site variables
You can use this method to restore Railway variables (see above how to backup), but also to restore them from Northflank or Heroku if migrating (follow the platform name link to see how to export them).
a) Open your Railway dashboard and select your Nightscout project.

c) Select your web app and click on Variables.

e) Click on RAW Editor top right

f) Delete all contents, open your backup file (the .env you generated when doing backup) and copy/paste all in the raw editor area. Click Update variables bottom right.

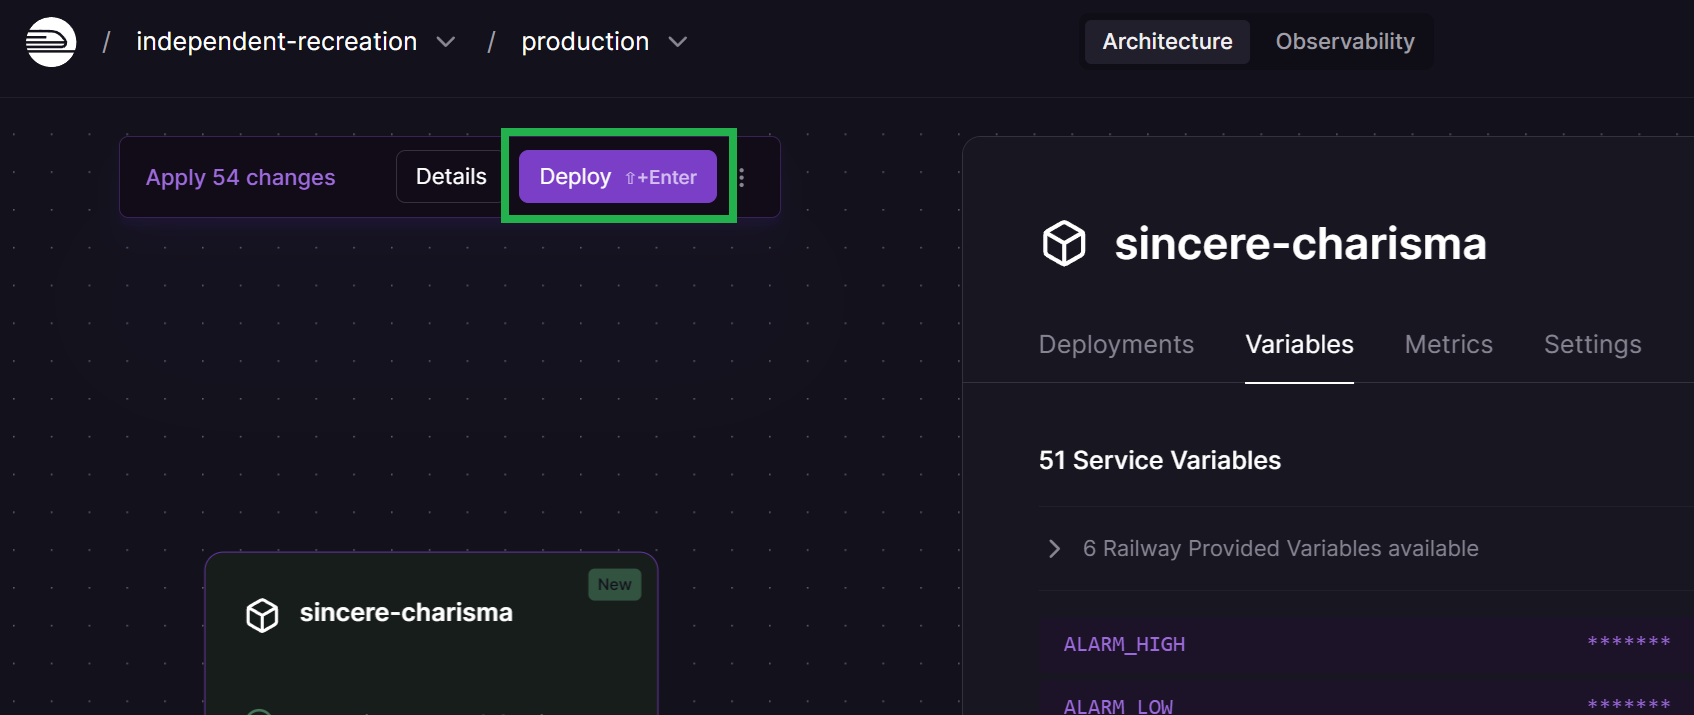
g) If you see the message Apply _ changes top left, click the Deploy button and wait for your site to update.
