Multiple sites and support
You might need to have access to multiple accounts without having to juggle between logins and passwords. Below are described some centralizing methods reducing the administrative burden.
Remote support and security
Giving username and passwords to someone in order to obtain help to fix Nightscout raises serious security issues. Malicious code can be added to your Nightscout project by ill-intentioned people. Always make sure the version deployed is a fork of the official project. After receiving help, good practice is to change your passwords (if shared) and your API secret.
When possible prefer inviting collaborators (see below) and remove them once the issue is fixed.
Github
You need only one Github account since you can connect multiple web apps to the same GitHub account.
Using this strategy you only need to update one GitHub account when a new Nightscout version is released and you will be able to deploy it in all your web apps.
Hint
If you have several web apps connected to the same GitHub repository you must use the standard update method. Not redeploy (else you’ll break all the links to the repository).
Enable automatic deploys in Heroku
Automatic deploys will allow you to update automatically your Heroku apps when you update the GitHub repository: you will not need to login into Heroku and perform Manual Deploy, as soon as a new version will be merged into GitHub an automated deploy will trigger in all enabled Heroku apps.
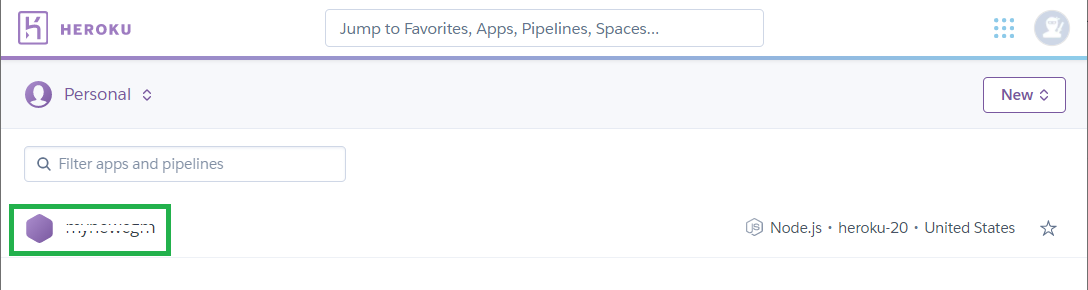
To enable automatic deploy, log in Heroku and select your app, then
Deploy. Verify GitHub and yourcgm-remote-monitorapp are connected.
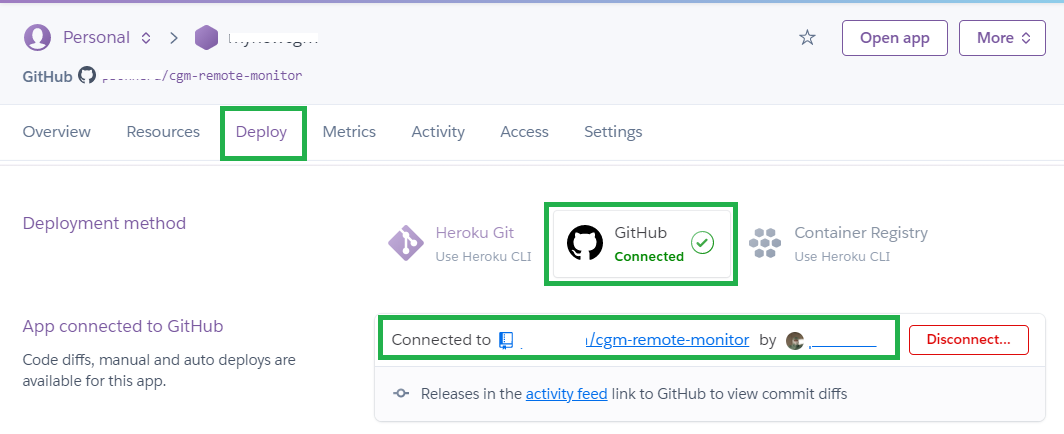
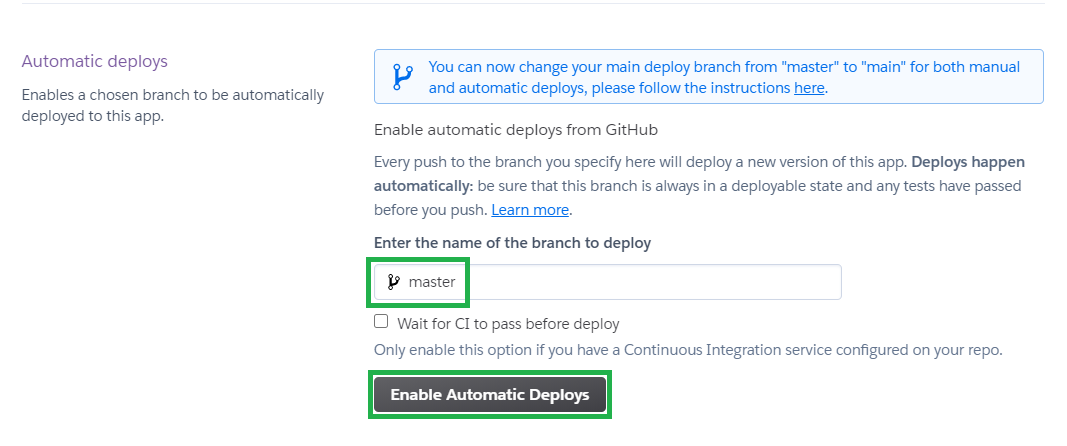
Verify the
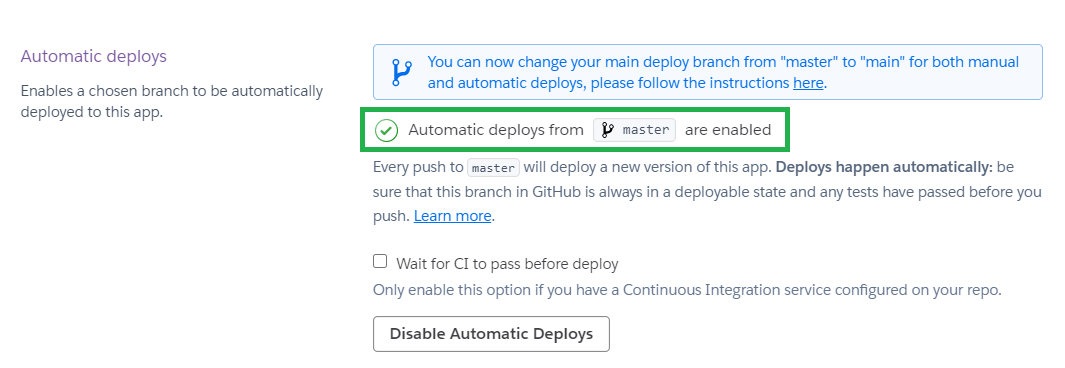
masterbranch is selected and clickEnable Automatic Deploys.
Your Heroku site will update automatically every time you update the GitHub repository.
Automatic deploys in Railway and Northflank
You don’t need to do anything as all your web apps will upgrade automatically when you upgrade GitHub.
Heroku
You can setup multiple Nightscout sites per Heroku account. You be charged the Eco/Basic plan fee for each app.
You can setup collaborators in Heroku. This is very useful for remote support.
Invite someone as a collaborator
Log into your Heroku account and select your app.
Select
Access.

Click
Add collaboratorand enter the email address of the person supporting you (that is the email address he used to setup his own Heroku account).
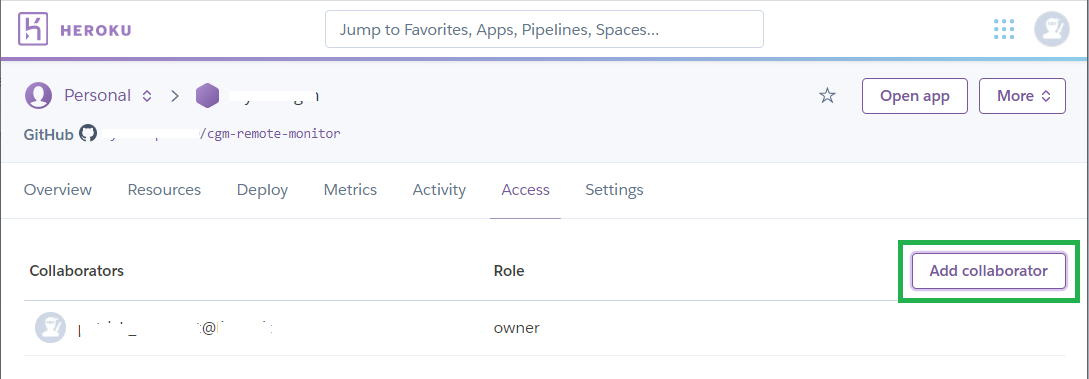
You will now see it as a collaborator. Using the pen icon you can modify it or delete it (useful when asking for support, once everything is working).

Being a collaborator
Note: you will receive an email with the invitation.
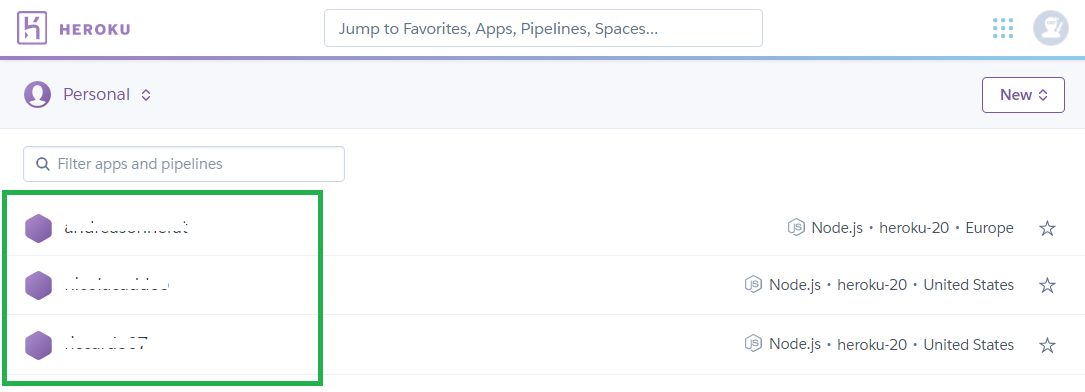
Log in your Heroku account. You will see the apps you are collaborating to in the same list than your primary app. You can now perform most tasks directly in that one Heroku account (deploys, change variables, …).
Atlas
You can invite another user in your organization in order to manage several organizations from the same Atlas account. This is very useful for remote support.
Invite another user
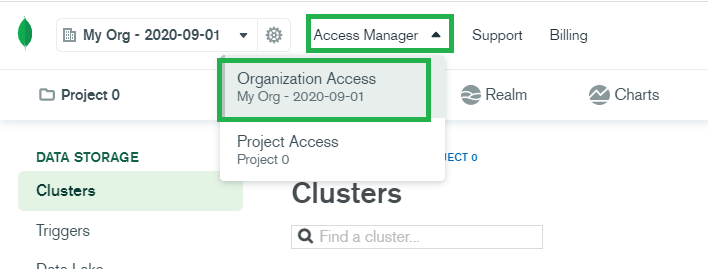
Log into your Atlas account.
Top menu, click
Access Managerand selectOrganization Accessfrom the drop down menu
Click
Invite Users

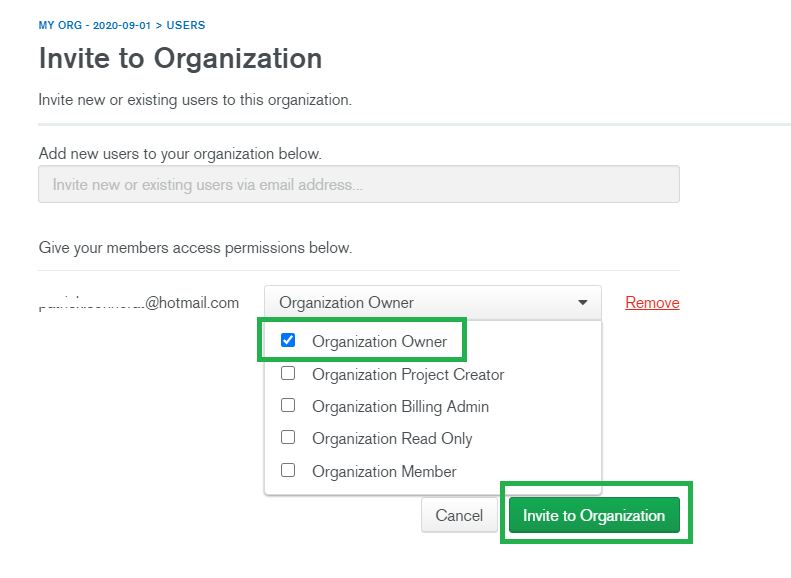
Enter the email address of the person supporting you (that is the email address he used to setup his own Atlas account).
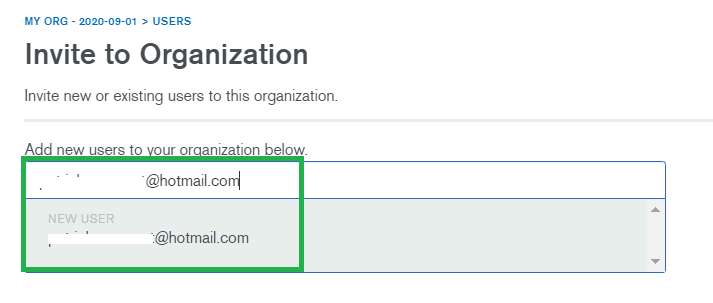
Select
Organization Ownerthen clickInvite to Organization.
Warning
Make sure you enable Organization Owner for the invited user!
Being invited
Note: you will receive an email with the invitation.
Log in your own Atlas account.
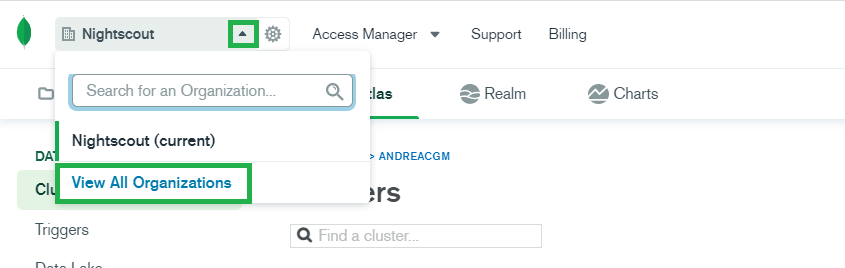
Top left, from the drop down menu click the caret and select
View all Organizations
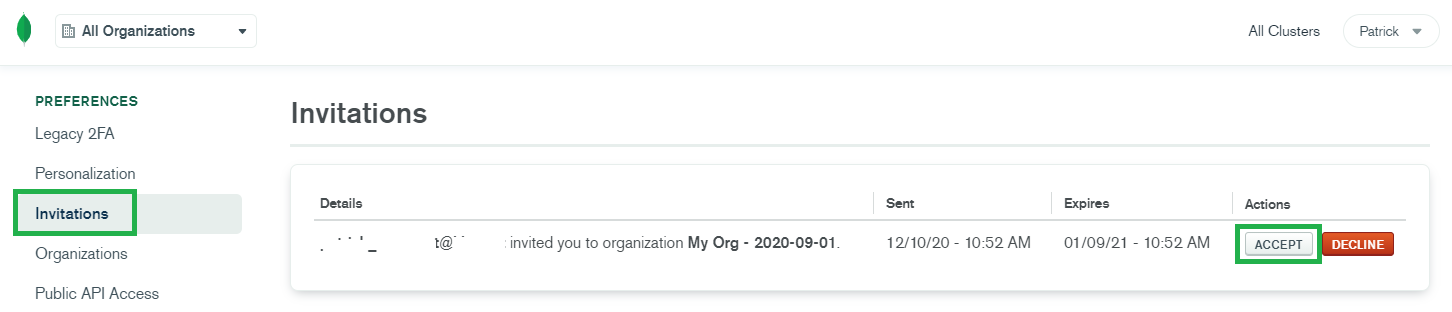
In the left menu, click
Invitationsthen clickACCEPTthe invitation.
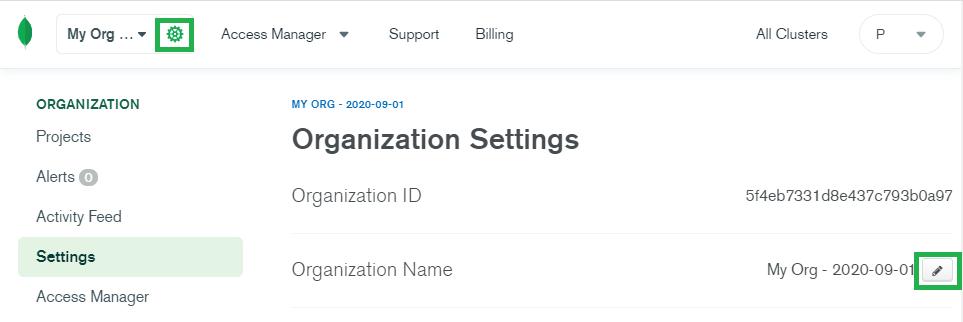
Going back to all your organizations you can now see and administer both of them from this account. In the example below
Nightscoutis your own organization andMy Org 2020-09-20is a guest organization.
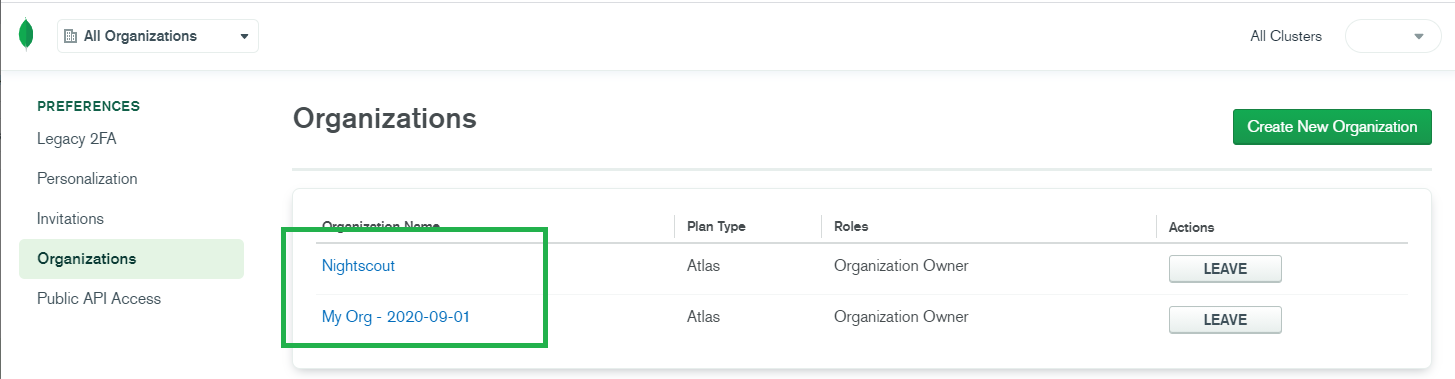
Hint
You can rename your organizations from the top left cog (Settings) then clicking the pen icon.
Northflank
You can setup two Nightscout sites per Northflank account. The 20$ per month credit applies.
You can setup teammates in Northflank.
Invite a teammate
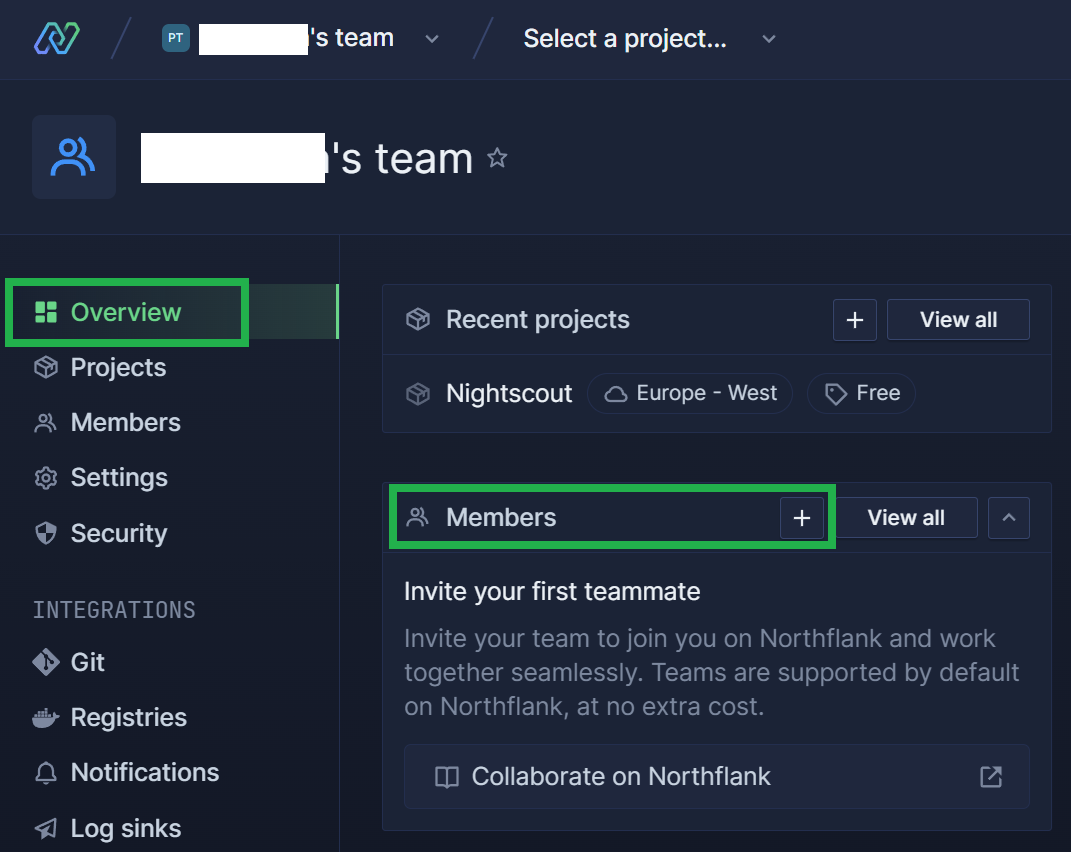
Log into your Northflank account and select
Overview, inMembersclick+to add a teammate.
Enter the email address of the person supporting you (that is the email address he used to setup his own Northflank account). Add
Adminprivileges if you want him to interact with your data, leaveDefaultfor an observer.
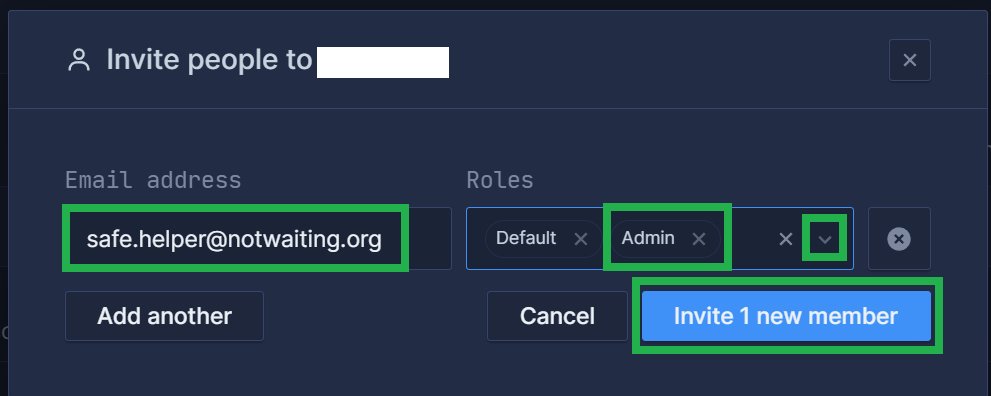
You can manage teammates in
Members: change privileges and delete them, or revoke invitations.
Being invited
You will receive an email with the invitation.
You will see the invitee project with yours.
Railway
Open your Railway dashboard and select your project.

Top right select
SettingsandMembers.Enter the email address of the person supporting you (that is the email address he used to setup his own Railway account). Select
Can Editprivileges if you want him to interact with your data, leaveCan Viewfor an observer.
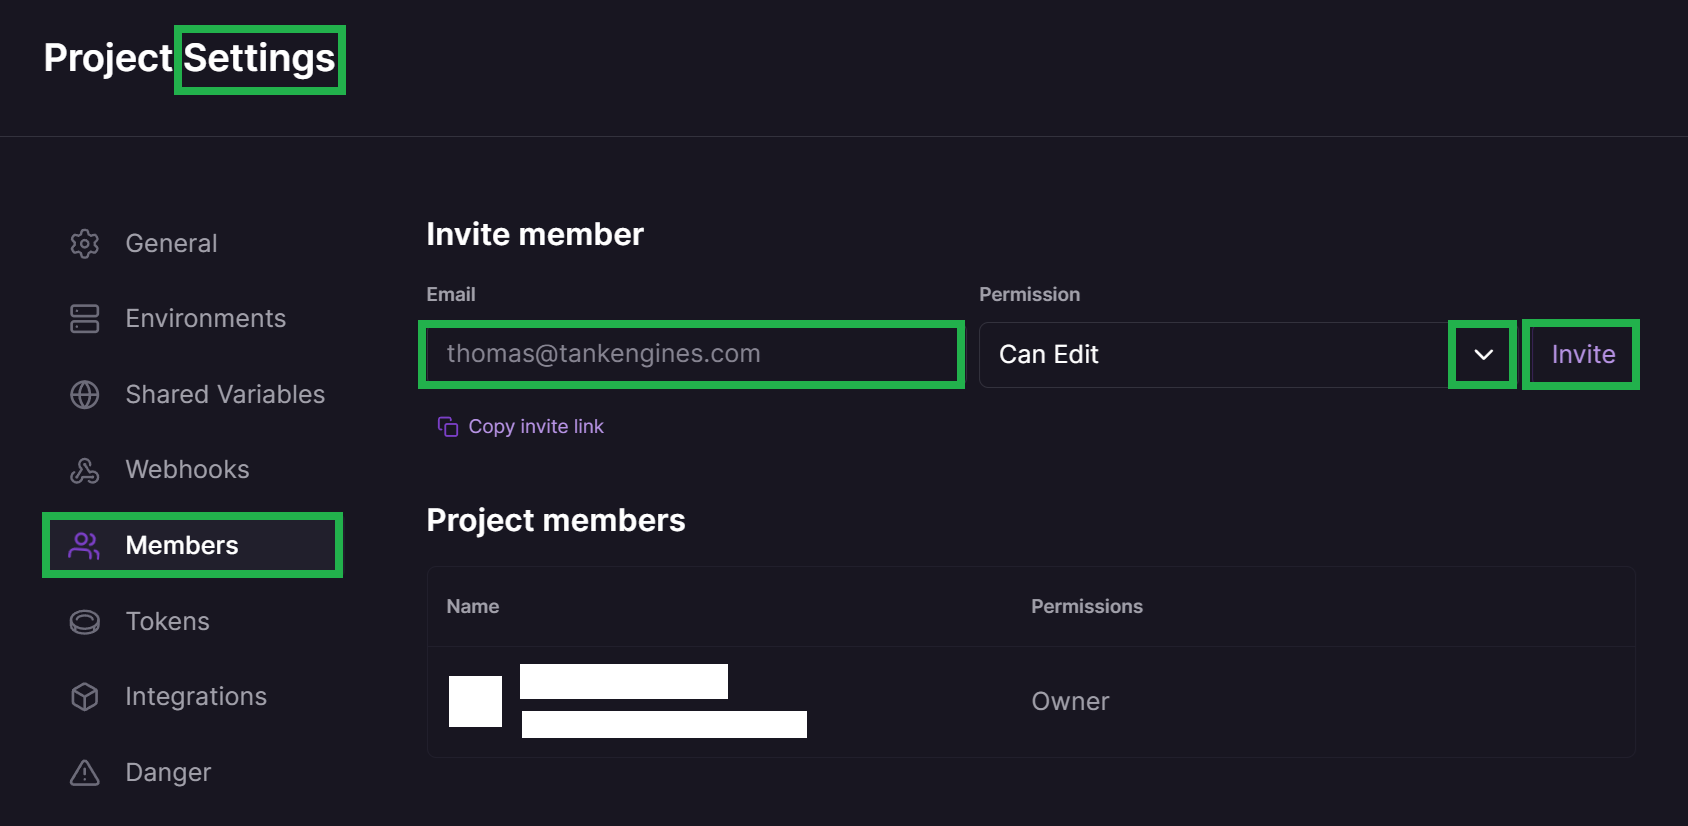
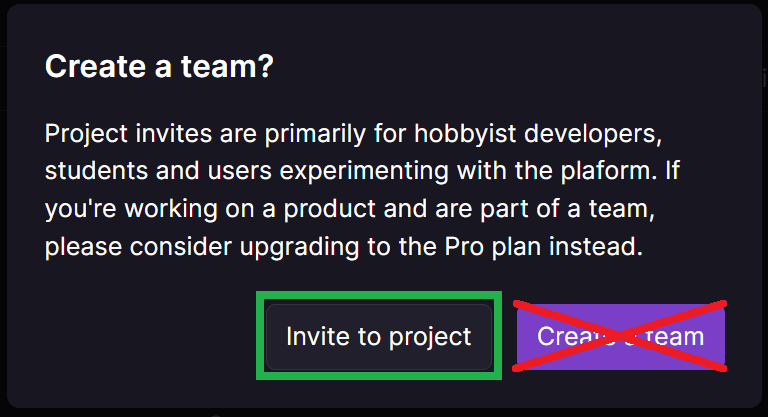
Confirm the invite with
Invite to project.
Being invited
You will receive an email with the invitation.
You will see the invitee project with yours.