Nightscout in Heroku
Too complicated? Not what you’re looking for?
Consider a hosted Nightscout service! Check for easier solutions here.
Heroku

Since the beginning Heroku has been a very popular platform for Nightscout. Most of the documentation was based on a Heroku Nightscout.
On August 25th 2022, Salesforce decided to drop the free plan.
You can create your new Nightscout site with Heroku using an Eco plan (5$/month).
Pros:
Large platform with a reliable history
Well documented, well known by the community
Cons:
The Eco plan has the same limitations than the previous Free plan, for 5$ per month
For a Nightscout site a 7$ per month Basic plan is not really worth it (compared to hosted solutions)
Relying on the MongoDB Atlas database
New sites naming add an identifier after the app name making it harder to remember
Create your Heroku account from a computer.
Do not change device/computer/browser during the setup process!
Hint
If you have unexpected issues when creating your site, restart with another browser.
If this is not your first attempt to deploy Nightscout
You might want to do some cleanup before.
Step 0: Create a database
Heroku doesn’t include a database
Make sure you created one before starting your Nightscout web app creation with Heroku. Come back here when you have a MONGODB_URI connection string.
Migrating?
Copy the connection string from your previous platform: edit the variables and look for MONGODB_URI.
If you don’t see MONGODB_URI but see MONGO_CONNECTION (NOT MONGO_COLLECTION): use its value.
Step 1: Create a GitHub account and fork the Nightscout project
Create a GitHub account
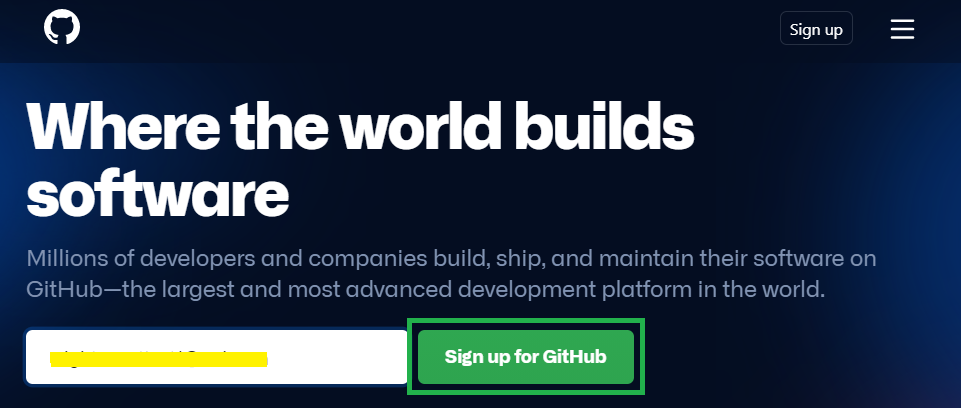
a) Click this link to create a GitHub account: https://github.com/
Enter your email and click Sign up for GitHub
b) Enter a password and a username (anything you want and that is accepted, not very important).
Type n to decline advertisement emails.
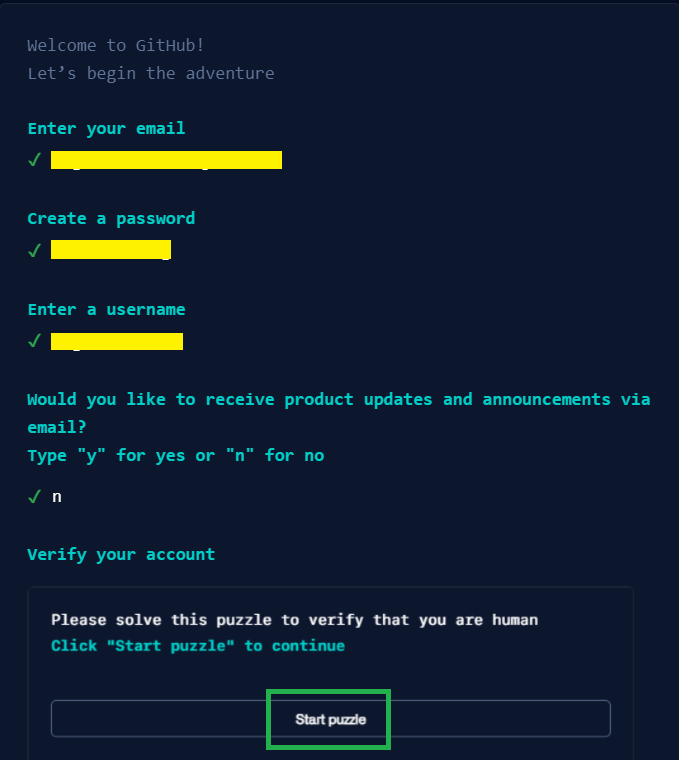
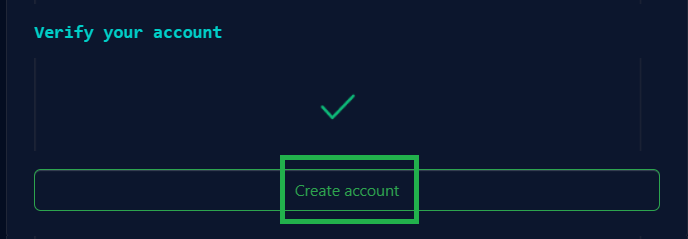
c) Play and solve the puzzle then click Create account
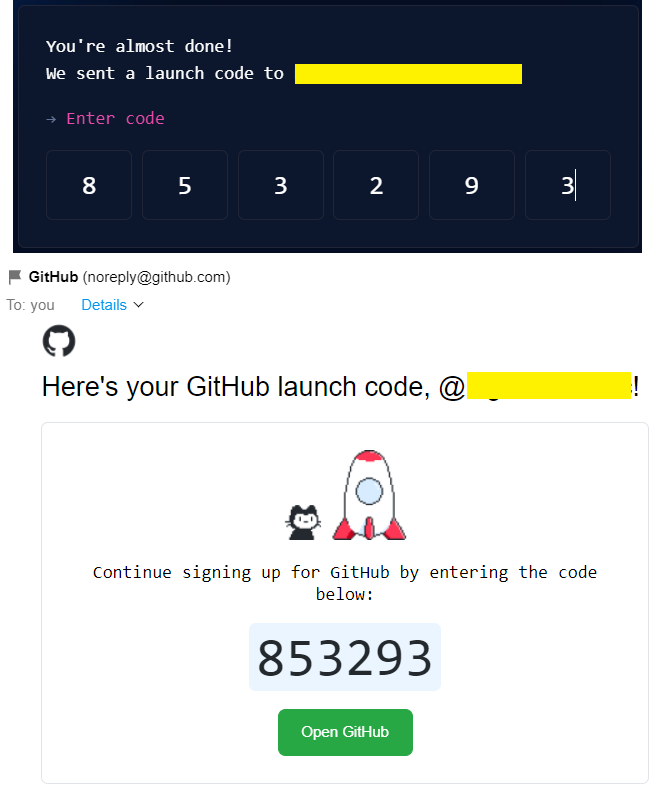
d) GitHub will send you a verification code. Open your mail and check your inbox (check your spam-folder if not received after a couple of minutes).
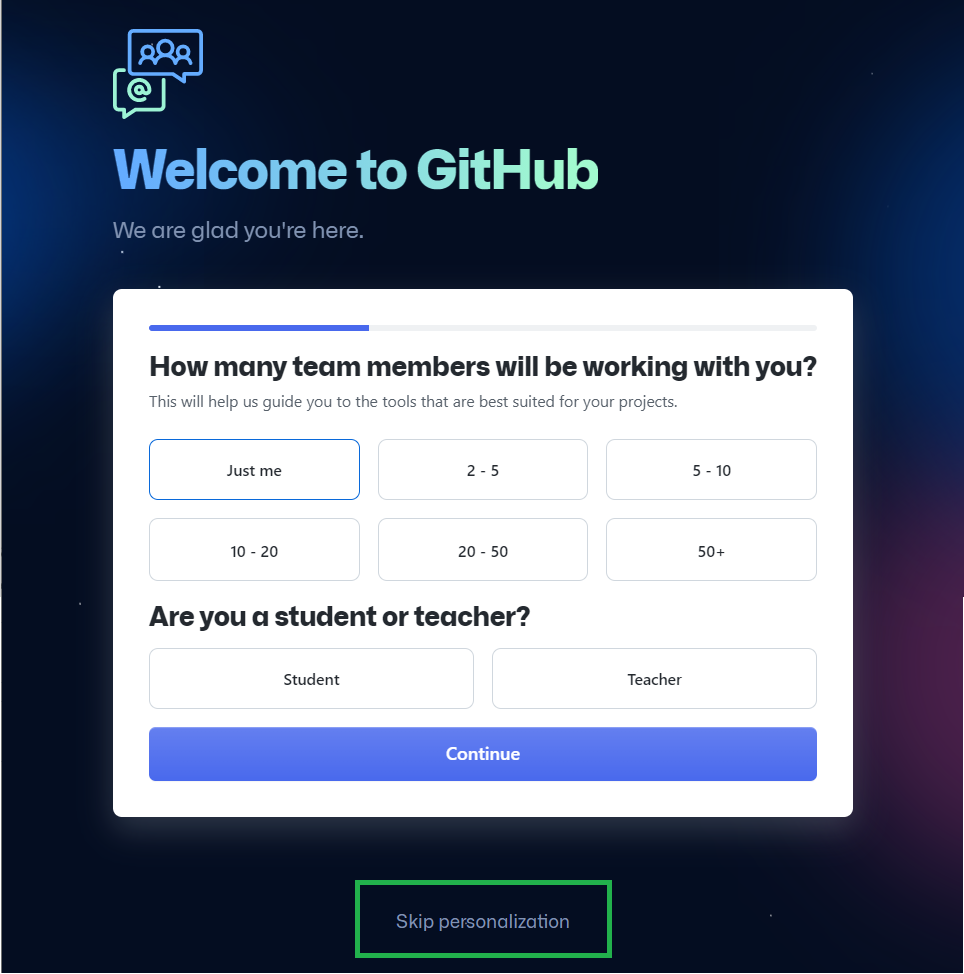
e) If a personalization sequence starts, click Skip personalization at the bottom.
f) Leave the page that opened as it is. Don’t close it.
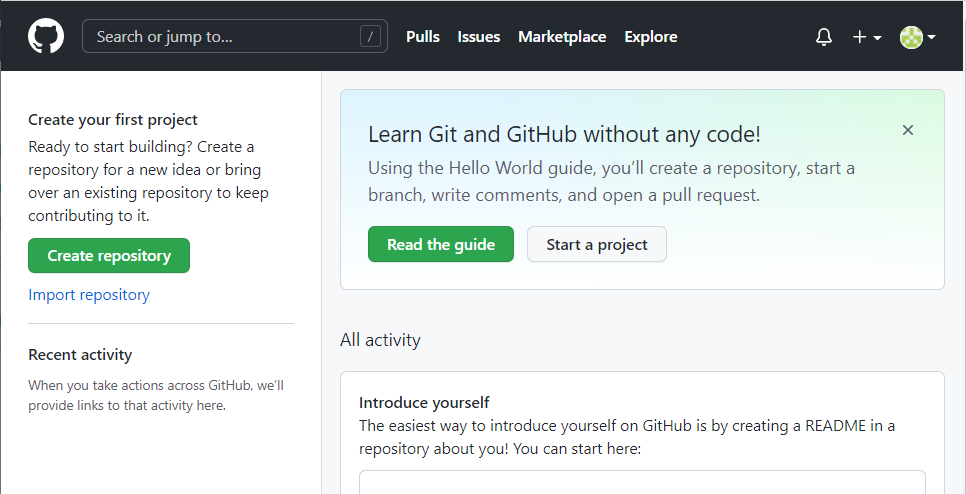
You have created your GitHub account. Now fork the Nightscout project.
Fork the Nightscout project
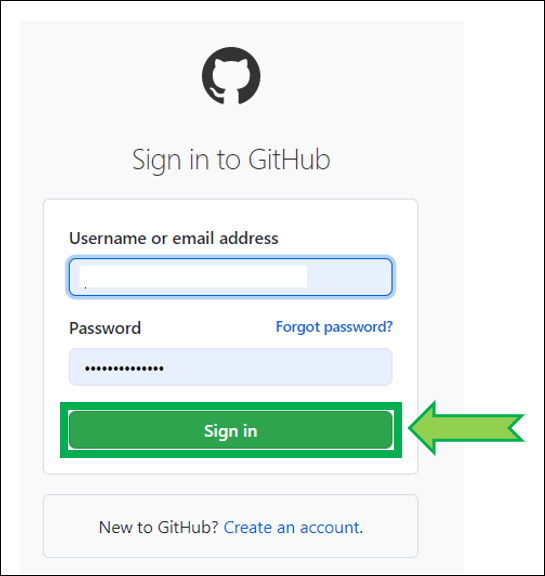
a) Click here to log in at GitHub: https://github.com/login.
Enter your username or email and your password. Click Sign in
If you already have a fork of cgm-remote-monitor in GitHub
Delete or update your current cgm-remote-monitor fork before continuing.
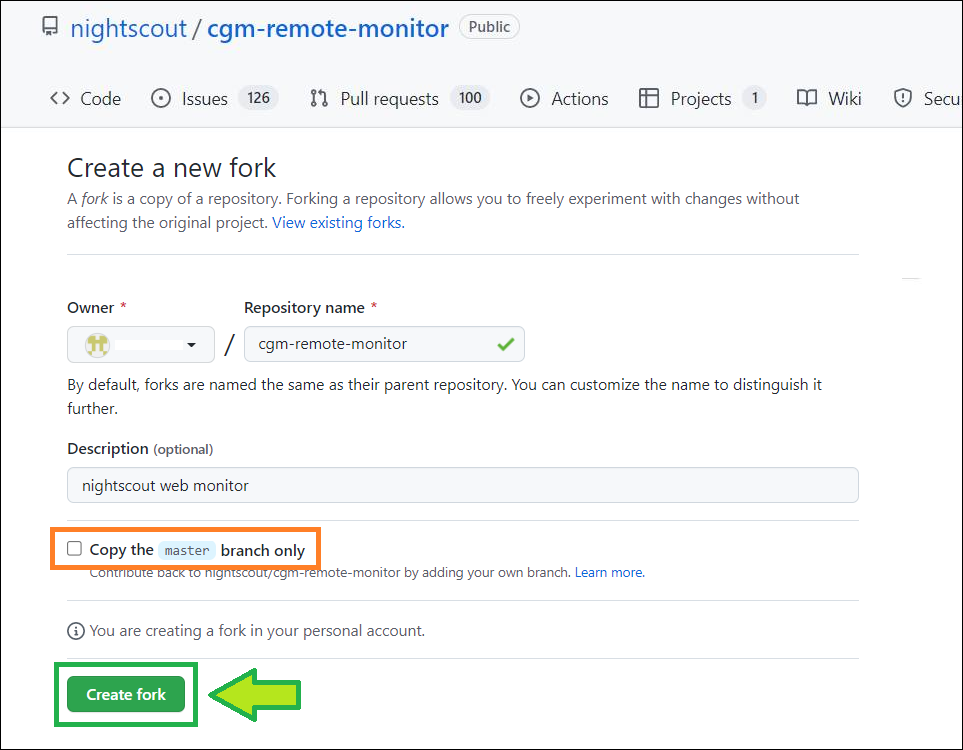
b) Open this link https://github.com/nightscout/cgm-remote-monitor. Click on Fork
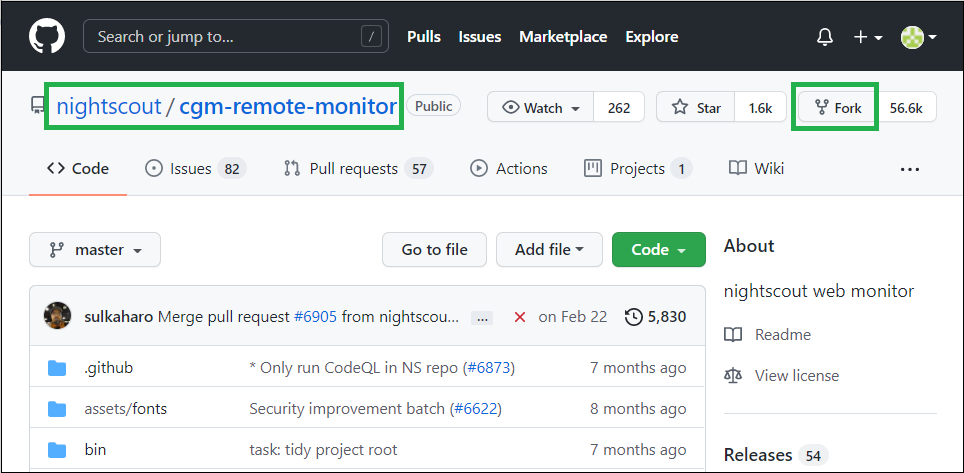
Confirm with Create fork
Warning
Make sure you deselect Copy the master branch only.
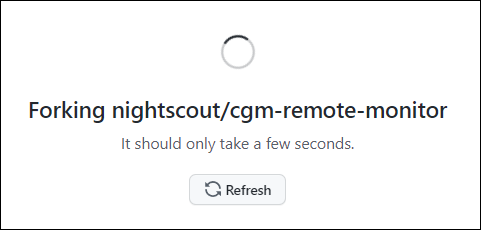
c) Wait for a moment
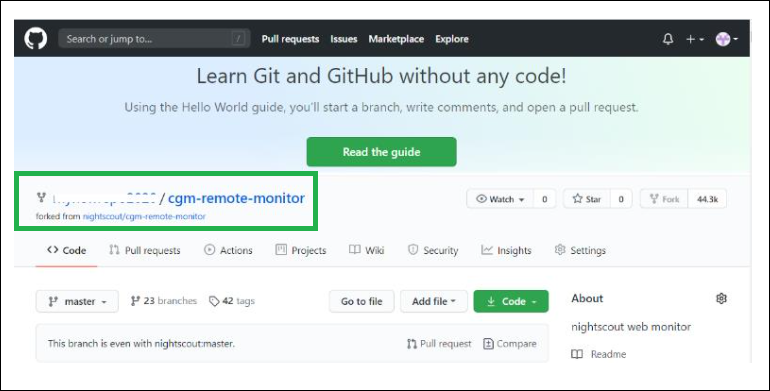
d) You now have a copy (fork) of the Nightscout project repository in your own GitHub.
Update your Nightscout fork
Click here to log in at GitHub: https://github.com/login.
Enter your username or email and your password. Click
Sign in
Select your own
cgm-remote-monitorproject (notnightscout/cgm-remote-monitor)

Your repository will open. If you see
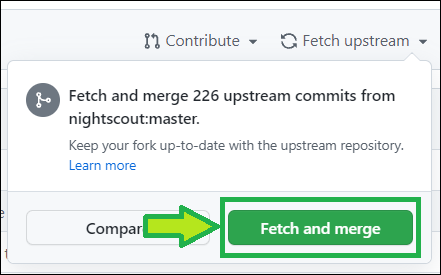
This branch is xxx commits behind nightscout:masteryou need to update.Select
Fetch upstream
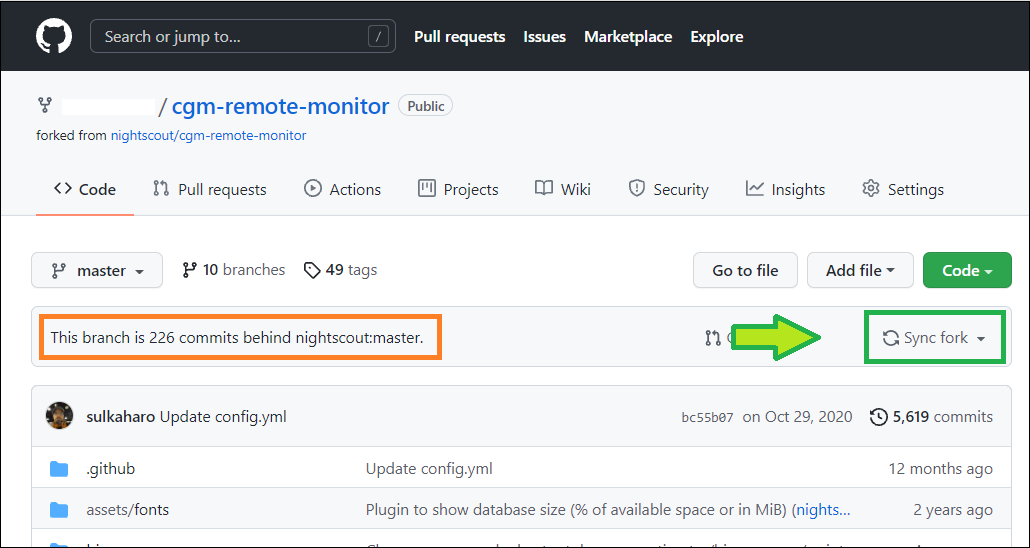
Select
Fetch and merge
After a moment, your repository should display
This branch is up to date with nightscout:master
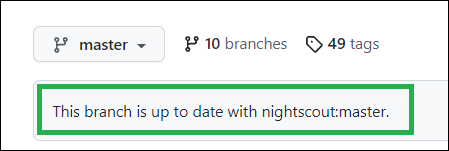
You have now updated your GitHub cgm-remote-monitor repository.
If you ran into trouble, you can redeploy the project.
Step 2: Create a Heroku account
Multiple factor authentication
Salesforce will insist you should enable multiple factor authentication. While this is indeed a good idea to increase safety, should you decide to enable it, make sure:
To print your recovery codes and keep them in a safe place
To never delete the authenticator app on your phone. Failure to follow these rules will end up in an account you can’t log into, hance can’t restart and maintain your Nightscout site. More information here.
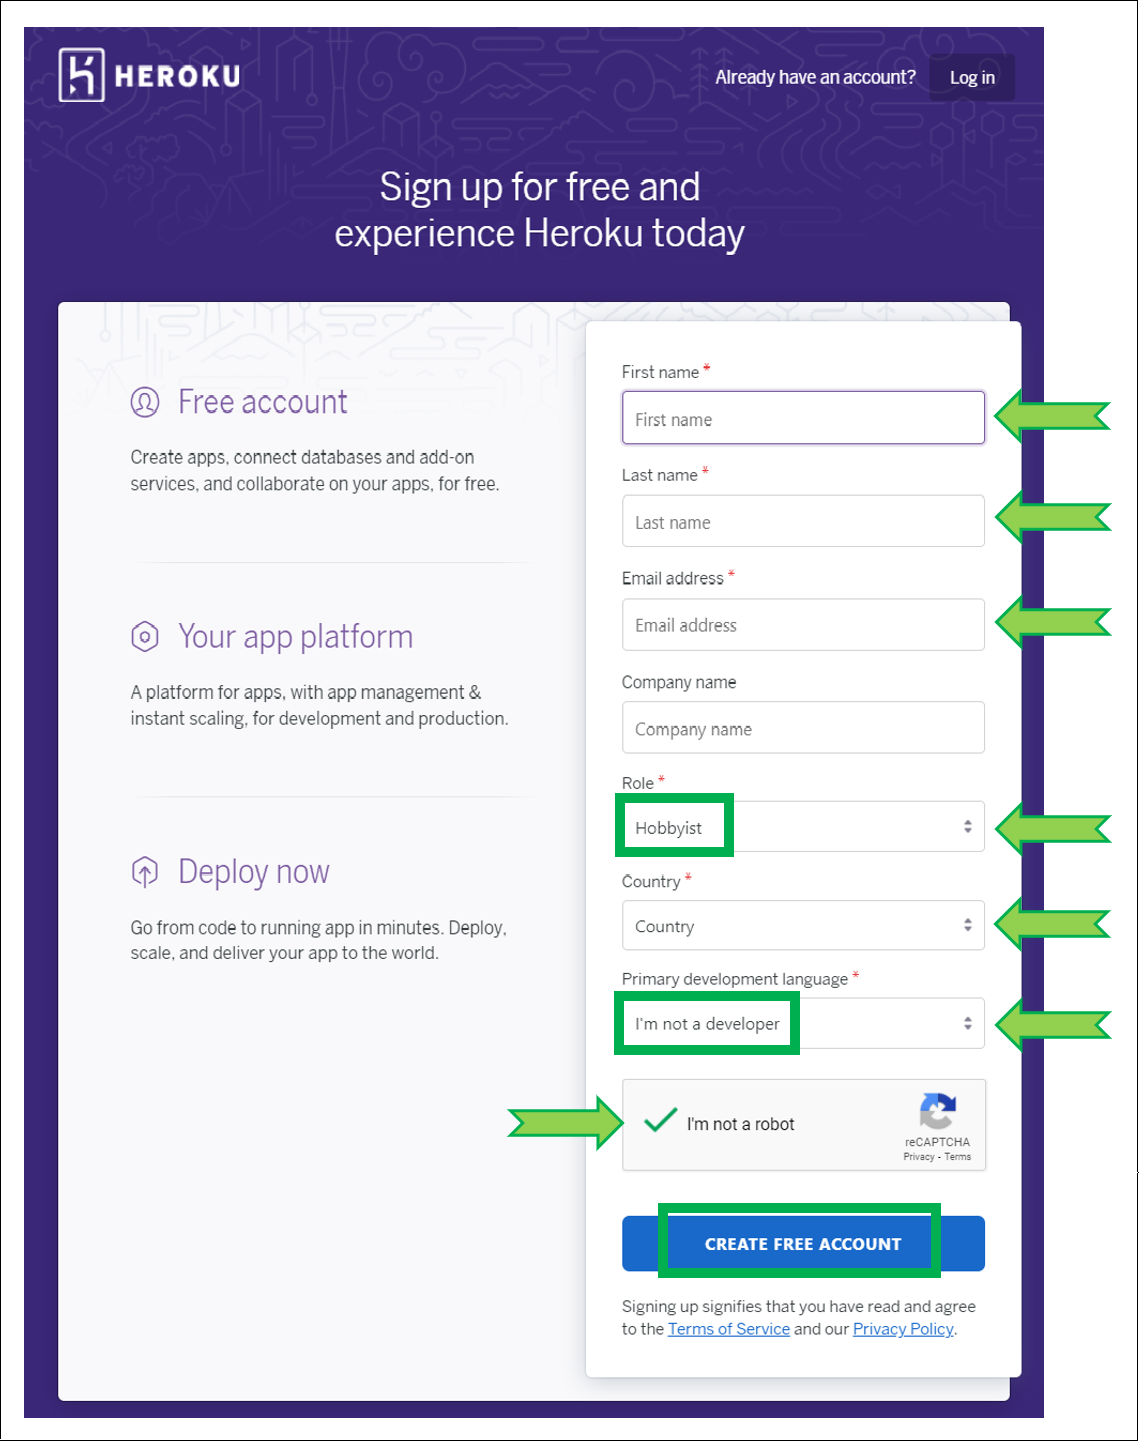
a) Click this link to create an Heroku account: https://signup.heroku.com/login
b) Enter mandatory data (*) and click CREATE FREE ACCOUNT
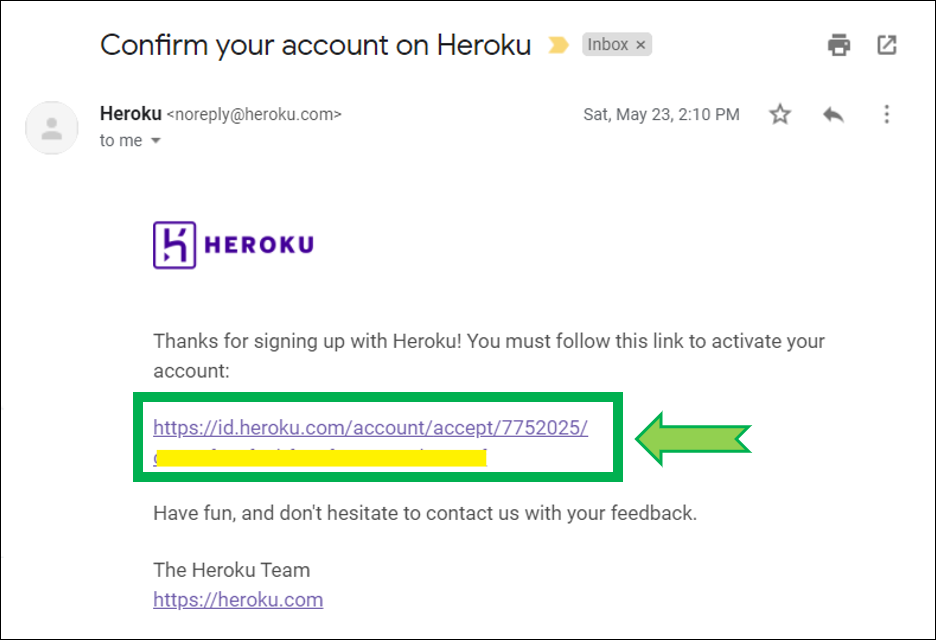
c) Heroku will send a confirmation email, open your mail and check your inbox (check your spam-folder if not received after a couple of minutes).
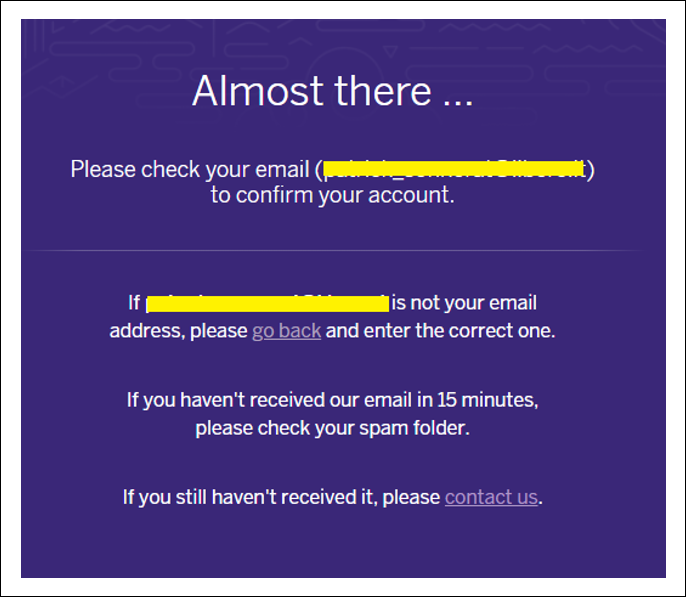
d) Click on the activation link
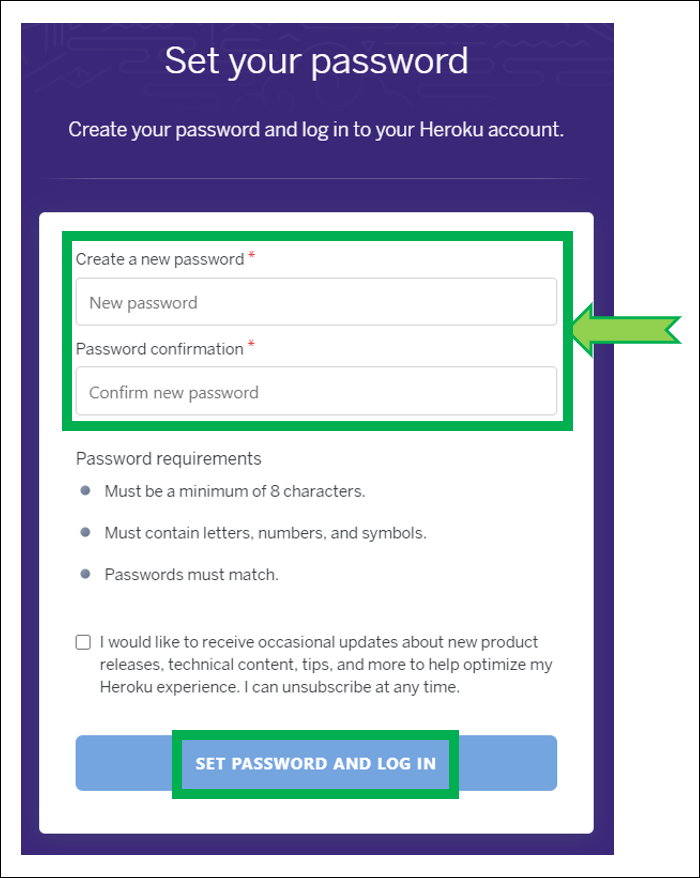
e) Create a password, it is important that you write it down for later usage. Click SET PASSWORD AND LOG IN
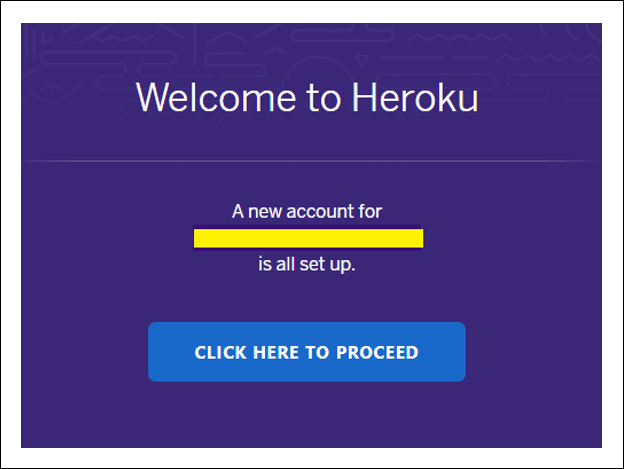
f) Click CLICK HERE TO PROCEED
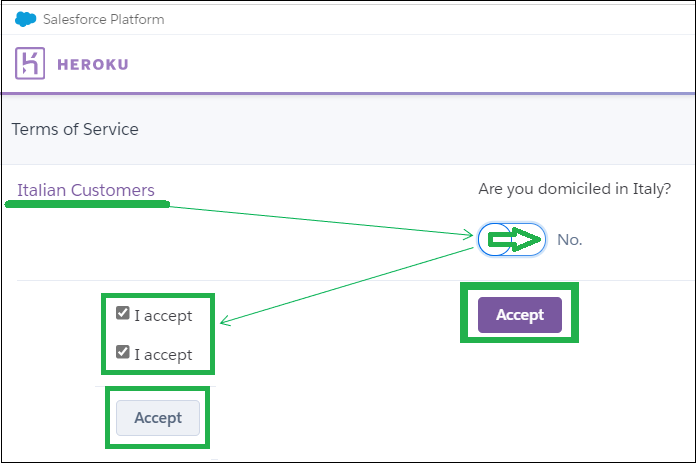
Read and accept Salesforce terms of service.
Se sei residente in Italia, abilita l’interruttore Are you domiciled in Italy, leggi e accetta le condizioni supplementari.
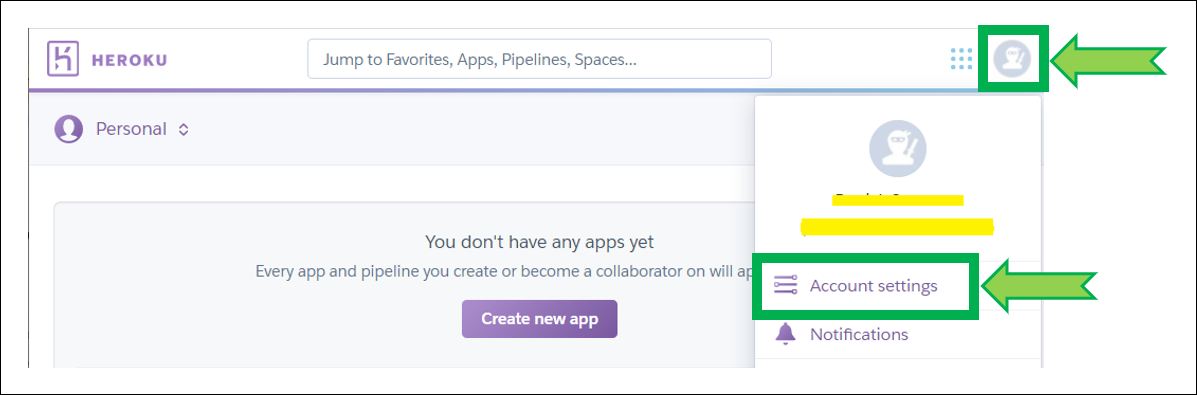
g) Your Heroku page will open, click on your profile picture, in the top right corner, and select Account Settings
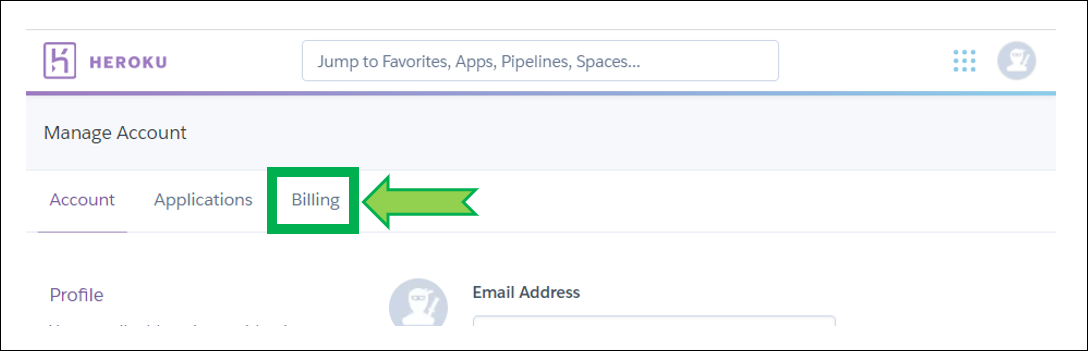
h) Click on Billing
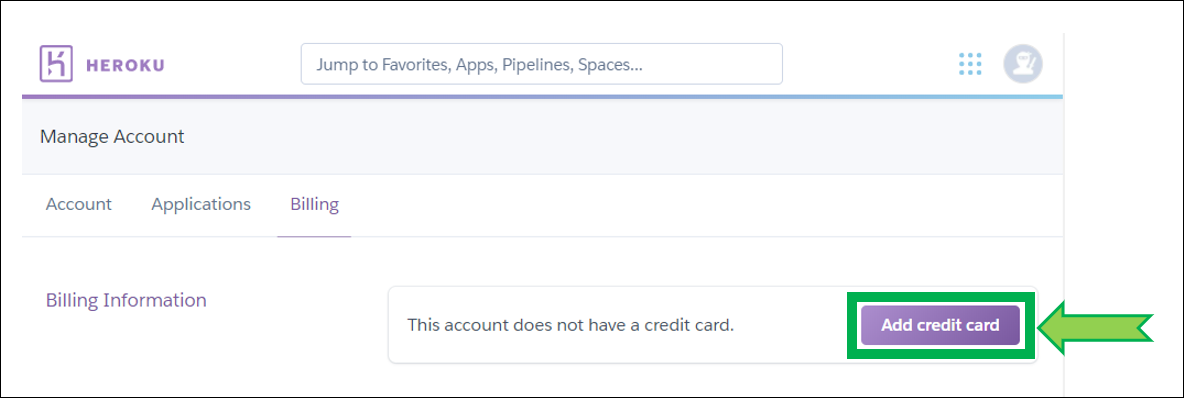
i) Click Add credit card
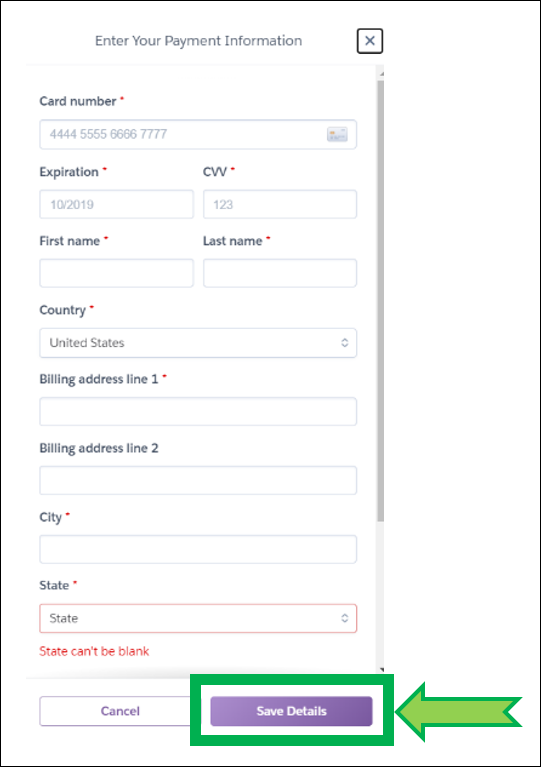
j) Enter your credit card information and click Save Details
k) Subscribe to the Eco plan for 5$ per month. You can upgrade to Basic later if you wish.

l) You should now have 2 pages open: Heroku and GitHub. Leave them open.
Step 3: Fork and deploy cgm-remote-monitor
a) Fork the Nightscout cgm-remote-monitor project.
b) Make sure you are logged into Heroku then click the Deploy to Heroku button below:

You’re getting into the core setup of your site
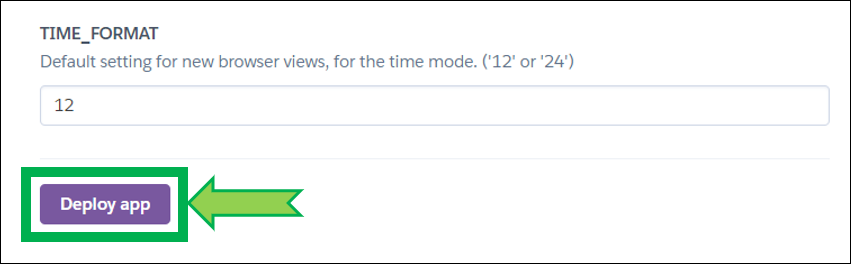
Below you’ll see the minimum required configuration, you can modify the variables later in Heroku.
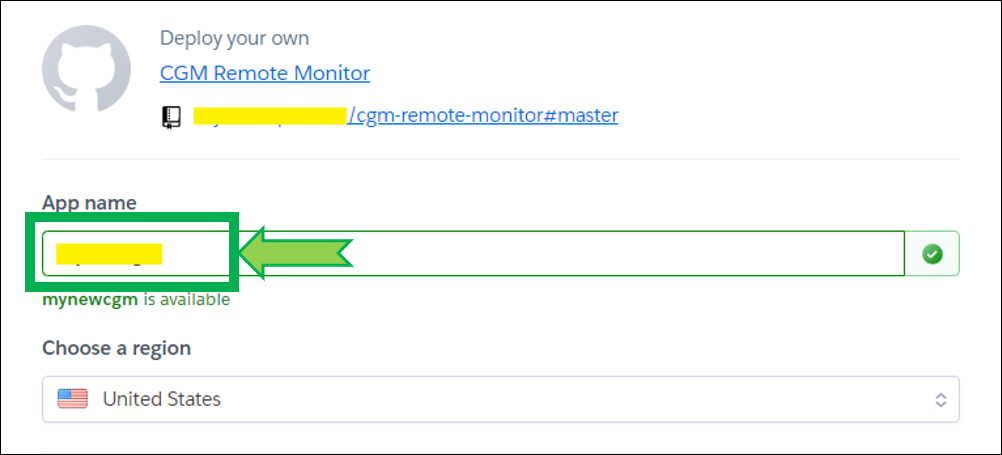
c) Enter your CGM in the Cloud site name: invent a name you will use to see your BG in the cloud. Confirm that the name is available.
Hint
Starting June 14th 2023, site names will include an application name identifier after your app name.
d) Don’t change the region.
Scroll down and setup the following variables:
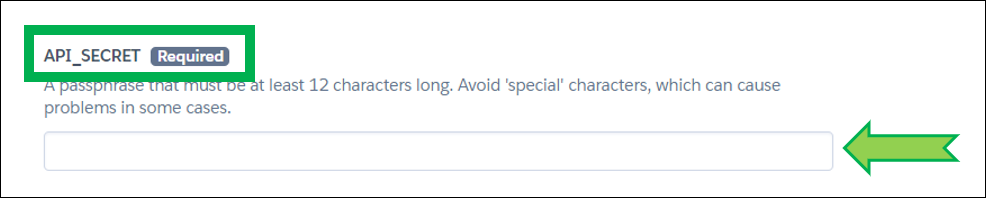
e) API_SECRET will be your Nightscout site password, it needs to be at least 12 characters long and you should NOT use spaces if you use @ or ! symbols remember you will probably need to express them using Percent encoding in your uploader and downloader apps. If you’re not sure on how to do this, it is recommended to use only letters (uppercase + lowercase) and digits.
Warning
The API_SECRET is the main password allowing full access to your Nightscout site. Make sure it’s reasonably secure (mix uppercase and lowercase letters, plus digits) and do no not share it publicly. If you think you exposed it by mistake, it is recommended that you change it.
f) If you want to link your Dexcom Share account as a data source, complete the following lines:
Note
If you use a DIY closed loop system it is recommended that you let it upload to Nightscout instead of importing using Dexcom Share and the bridge plugin.

MOST COMMON ERRORS
The most common error on initial Nightscout setups is that people incorrectly use an old account or an old password. To test your username and password, go to Dexcom’s Clarity page (check here for USA accounts and here for the others) and try logging in to your Dexcom account. If your account info isn’t valid, or you don’t see any data in your Clarity account… you need to figure out your actual credentials before moving ahead. See here for troubleshooting tips and information on your Dexcom account.
Password
Some people have had problems with their bridge connecting when their Dexcom passwords are entirely numeric. If you have connection issues in that case, try changing your password to something with a mix of numbers and letters.
Hint
You need to have at least one follower to use Dexcom Share. See here.
g) Linking your CareLink account as a data source is not possible anymore using cloud hosted Nightscout sites.
Use an Android bridge device with a private version of xDrip+.
More information here.

j) Select the units you’re using in DISPLAY_UNITS acceptable choices are mg/dl or mmol/L (or just mmol).

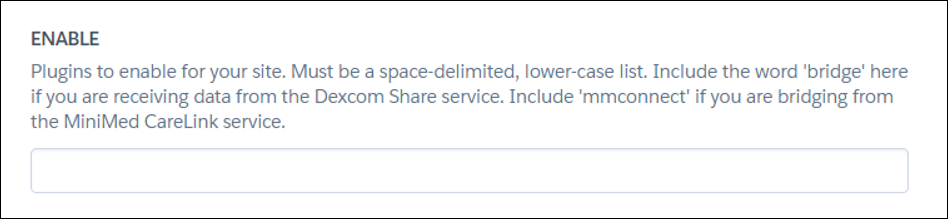
h) In ENABLE, copy and paste the following words (separated by a space) so that won’t have to think about which you want now:
careportal basal dbsize rawbg iob maker cob bwp cage iage sage boluscalc pushover treatmentnotify loop pump profile food openaps bage alexa override speech cors
If you are using your Dexcom share account as a data source also add bridge at the end, after a space like this:
careportal basal dbsize rawbg iob maker cob bwp cage iage sage boluscalc pushover treatmentnotify loop pump profile food openaps bage alexa override speech cors bridge
ENABLE words
You find more information about the ENABLE words on the: Setup page
i) Now you need the connection string you defined during the database creation (as the example below, but not the string below). Copy and paste it in the MONGODB_URI variable field.
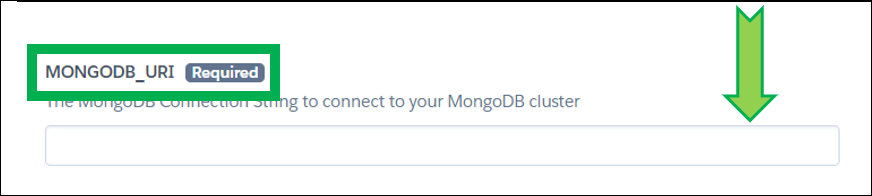
Make sure it looks like this one below and NOTE: THERE ARE NO < AND > CHARACTERS:
Example for MongoDB Atlas:
mongodb+srv://nightscout:soo5ecret@cluster0.xxxxx.mongodb.net/?retryWrites=true&w=majority
Example for a MongoDB database:
mongodb://nightscout:soo5ecret@mydbhosting.fqd/mydatabase
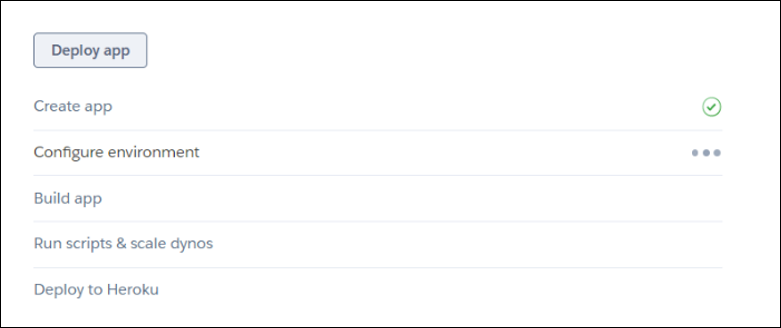
j) Scroll down to the end of the list and click Deploy app
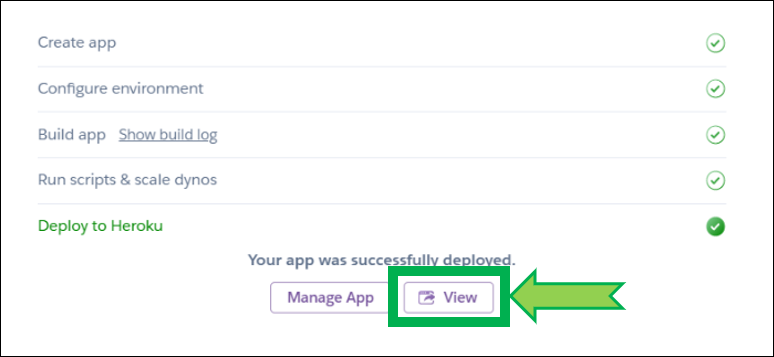
k) WAIT until completion (will take some time). Do not interrupt the process until it’s complete.
l) Then click View (if nothing happens, click Manage App -> Open App, in upper right corner)
New Nightscout Setup
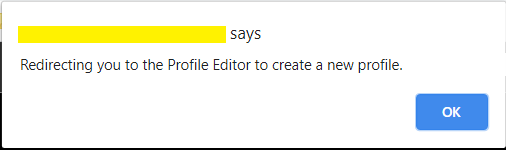
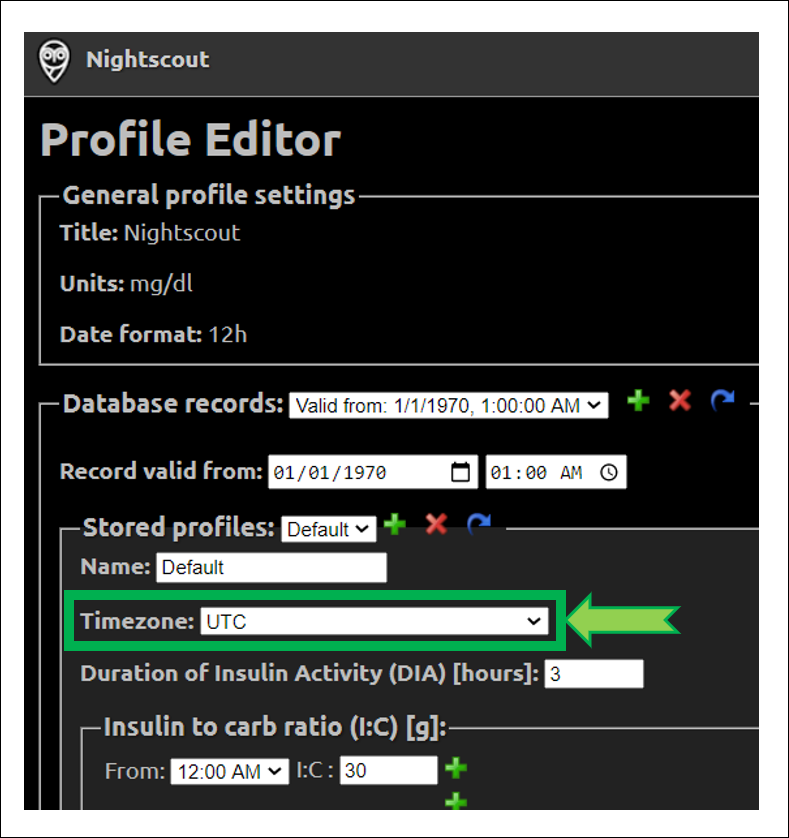
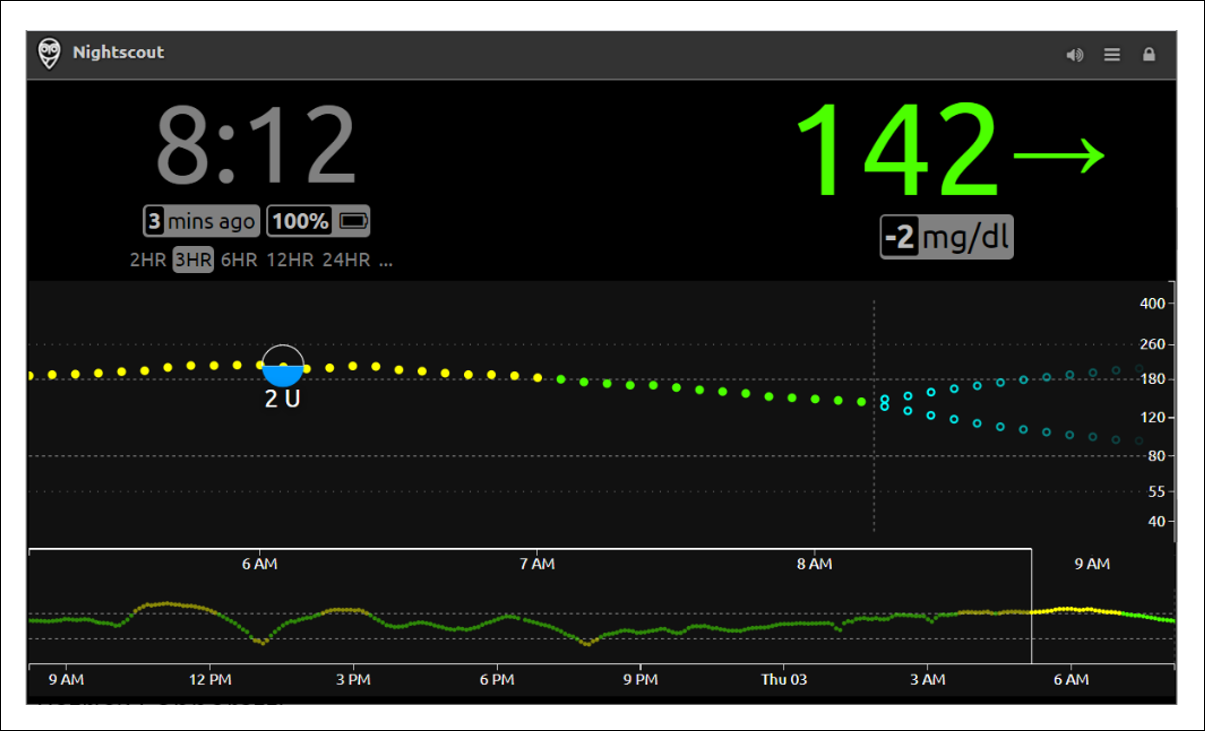
a) Your Nightscout site should open and direct you to a new profile creation.
b) Setup your Time zone and eventually all other fields. Do not leave any fields empty. If you don’t know which value to use, just use the default value. You can change these values later at any time.
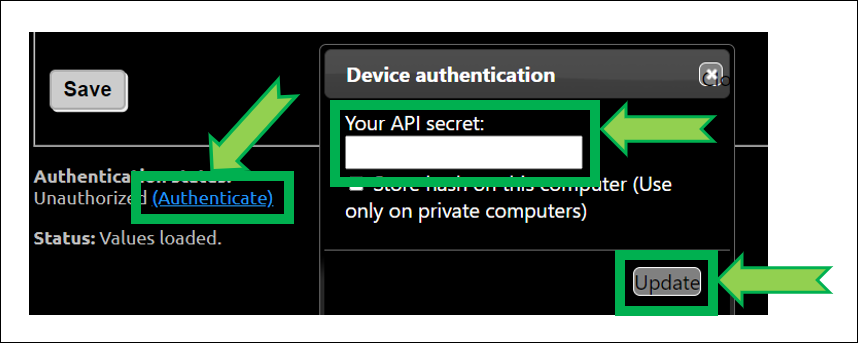
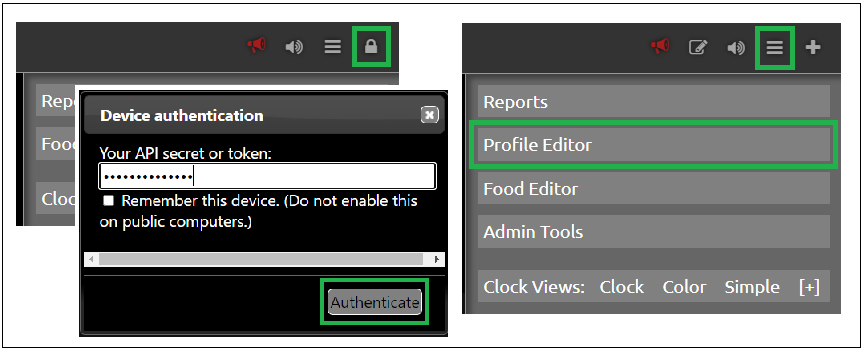
c) Browse down to Authentication status and click Authenticate. Enter your API secret. Click Update.
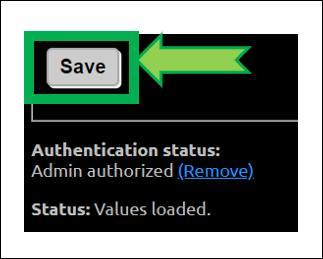
d) Click Save.
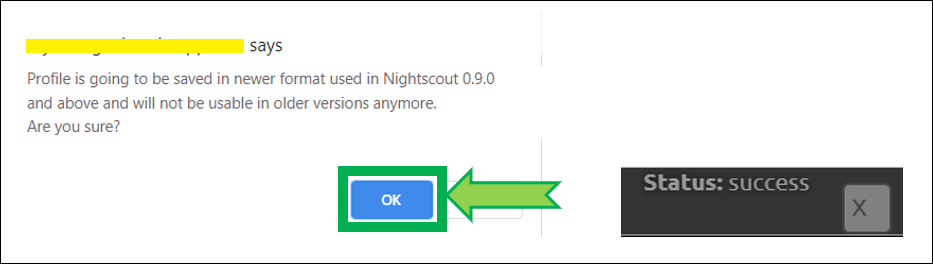
e) If the following pop-up shows up click OK, and check status (upper right of the window).
f) If you need to modify your profile after this, authenticate with the lock icon (top right of the page): enter your API secret. Then click on the hamburger menu and select Profile Editor.
Privacy warning
Anyone with access to the URL of your Nightscout site, can view your BG and run reports of your data. It it strongly recommended that you enable security to your site once you’re done with the setup
g) Dexcom Share users should see data flowing in after some minutes. xDrip+ users (including Medtronic CareLink followers) should setup the uploader as shown here. xDrip4iOS users here. AAPS and Loop: consult the relative documentation.
You have completed a new Nightscout site creation. You can continue here now.
The following section provides more information that you might not need to use now.
Papertrail
Finally, you might want to modify the
PAPERTRAIL_API_TOKENline. Heroku offers a free, tiny amount of Papertrail service (this is like a logging service for how the site is running), but this generates a lot of confusion to most people later on, when they get a message that their “Free Papertrail Service has run out of room”. Papertrail is not needed, edit the line and addDISABLEDat the end, so that you can recover the function if you need it later.

Editing Config Vars in Heroku
Once Nightscout deployed, you can access your variables from Heroku in order to change or customize your site. Variables are described here.
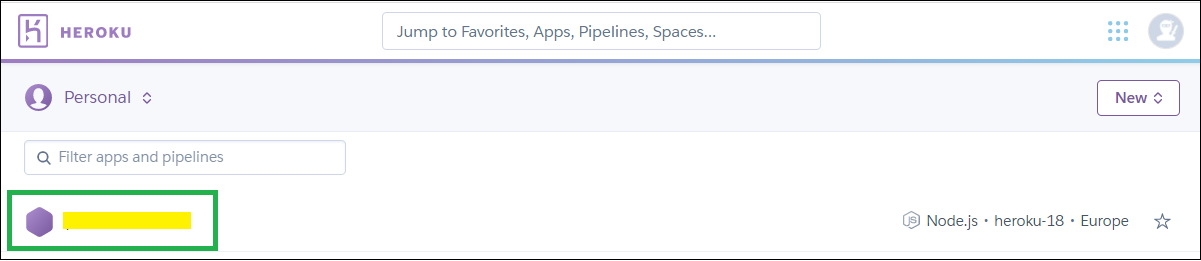
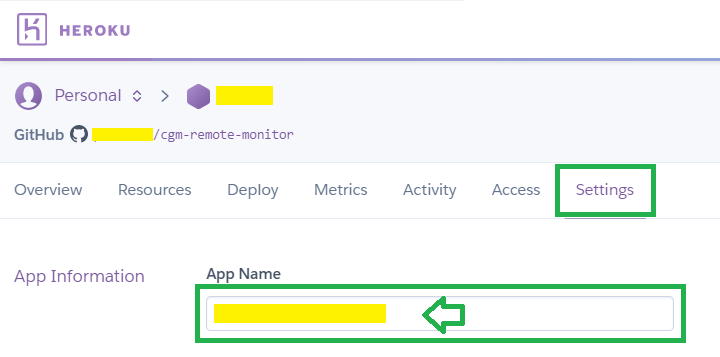
Select your app
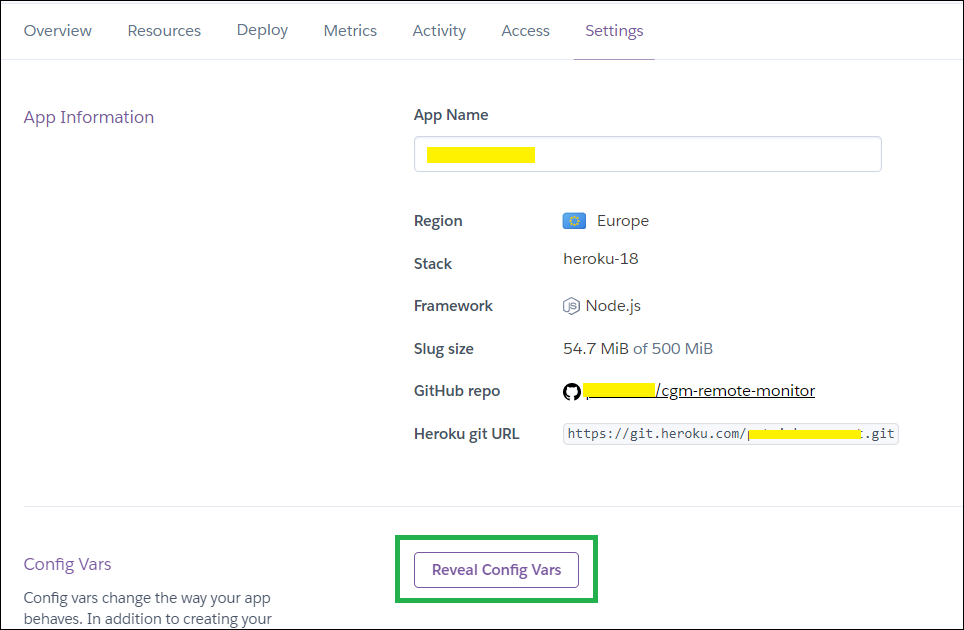
Click
Settings

Scroll down and click
Reveal Config Vars
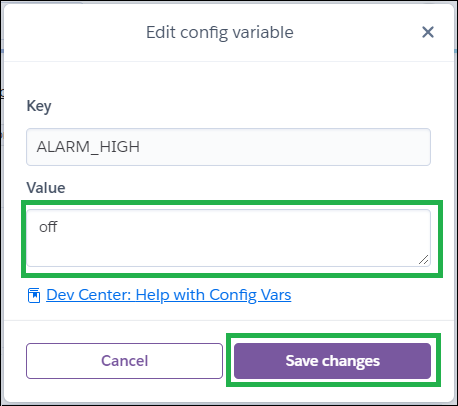
You can modify the values clicking on the pen icon

Change the contents of
Valueas needed then clickSave Changes
Changing a variable and saving a new value will restart your site, if the change is not actuated you might also want to restart all dynos.
Prevent your Nightscout app from falling asleep
Use with caution
If an app fails and crashes at startup (database full), if you entered wrong credentials and the app stops for missing data activity, using this trick to keep it alive will not help. It might even make things worse in the case of wrong Dexcom credentials and lead to a locked account.
This is necessary if you don’t have an uploader sending data to Nightscout, or a follower polling data from it.
For example using the bridge plugin.
You can use monitoring webapps like Uptime Robot, New Relic, …
You have completed a new Nightscout site creation. The following section provides more information for variables edition that you might not need to use now.
Renaming your Nightscout site
Warning
Starting June 14th 2023, site names will include an application name identifier after your app name. Keep this in mind if you want to rename your site: the result might not be as simple as it was before.
You can rename your Nightscout site URL in your app Settings.
Once done, make sure all apps (uploaders and downloaders) are updated accordingly.